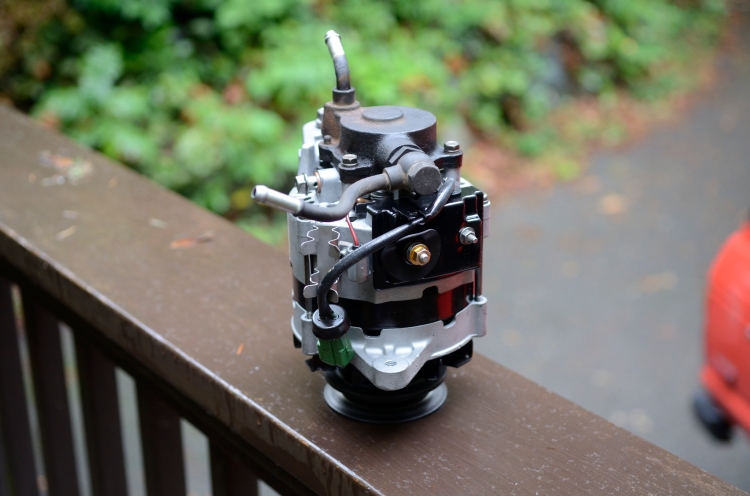
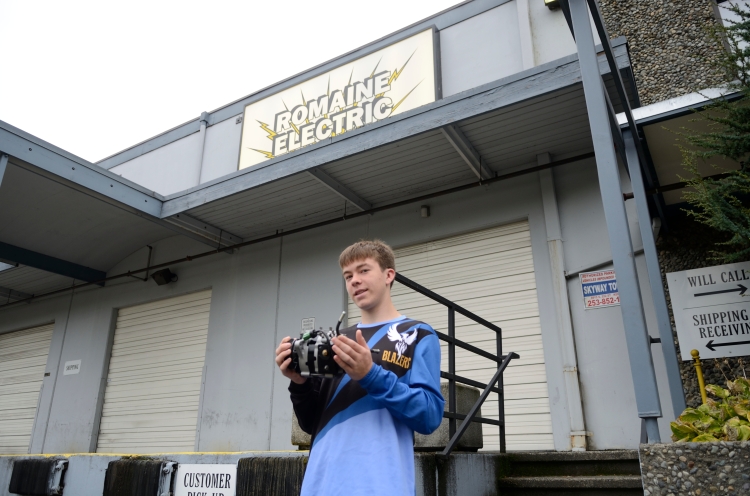
Truck home, go over it for maintainance that’s been deferred.
Seller assures that oil change is due in a few thousand k, so that will be on hold for few thousand kms.
On a hunch we changed the fuel filter and found fuel that was poured out of filter was very black. Yuck. New filter and primed and car seemed to run better. The built in fuel priming pump on this truck is on its last legs, when unscrewed fuel is spilled everywhere while pumping. Need to install a replacement from Bosch. Meh… next time…
Removed air filter, looked dirty and covered in crud so put in a new one. Wow that helped.
Brake fluid looks good but clutch fluid was dark amber. We bleed clutch system with no issues. Clutch is simple to bleed with pedal (and an assistant) because clutch pedal sees full travel in normal use. Brakes are tricky and you need to be careful because normal brake usage doesn’t fully exercise the brake master cylinder’s travel so the bore will be corroded in the unused section. If you use full travel you’ll destroy the seal in the master cylinder. Best bet for brakes is to use a pressure bleeder (which I don’t own.)
I drive the truck to work for the next week getting a feel for its problems. Really the only problem is the big 35″ wheels which make the car so sluggish. Got to find some stock wheels. Engine seems peppy though and handling is excellent despite the huge stupid wheels. Well, gotta say the heavy tinting sucks for visibility.
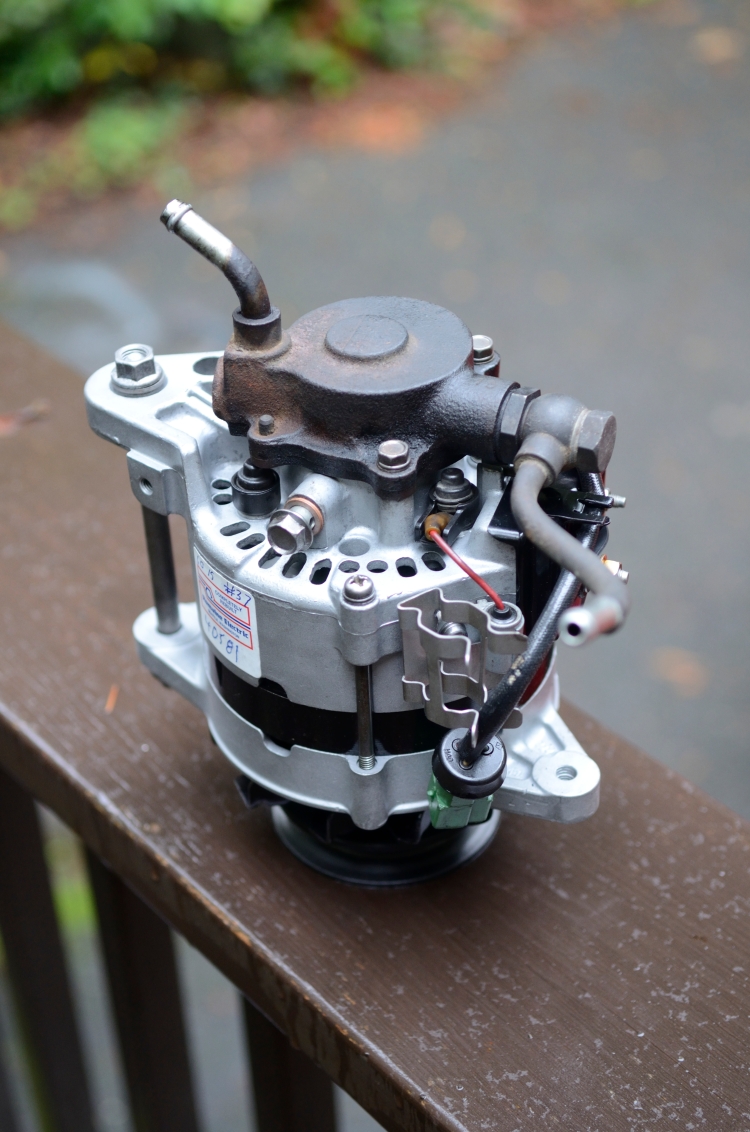
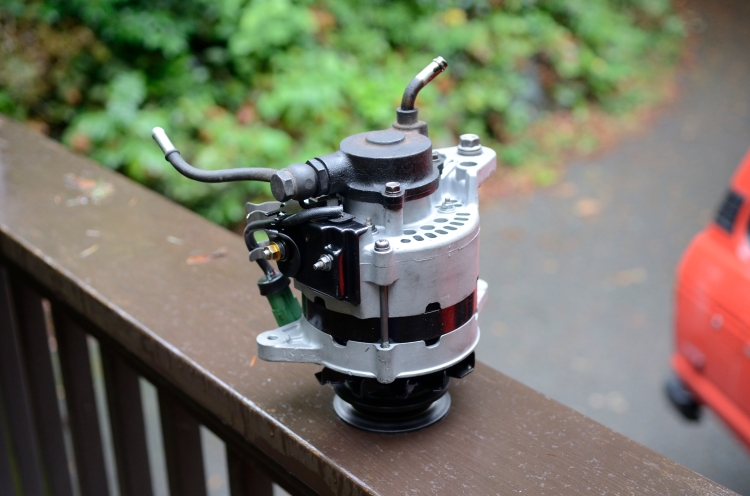
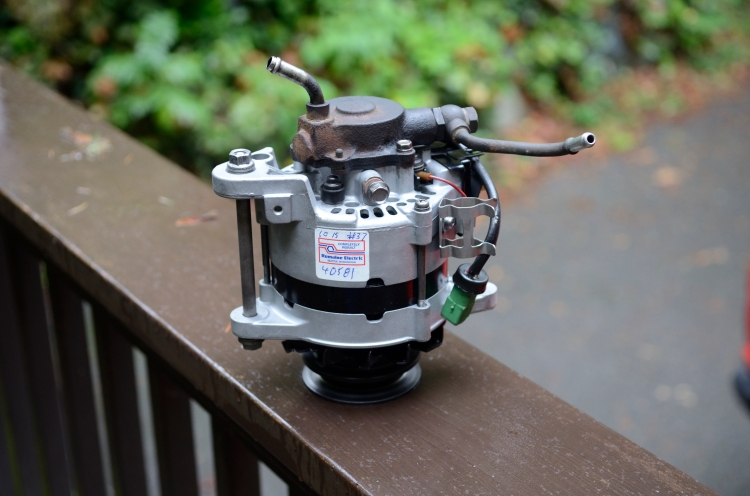
I installed my voltmeter in cigarette lighter and while voltage is maintained properly at idle I see that voltage rises with rpm, going way past 14.2volts, up to 15 or 15.5. No wonder the batteries look bad. Clearly the alternator is due for a trip to Romaine Electric.
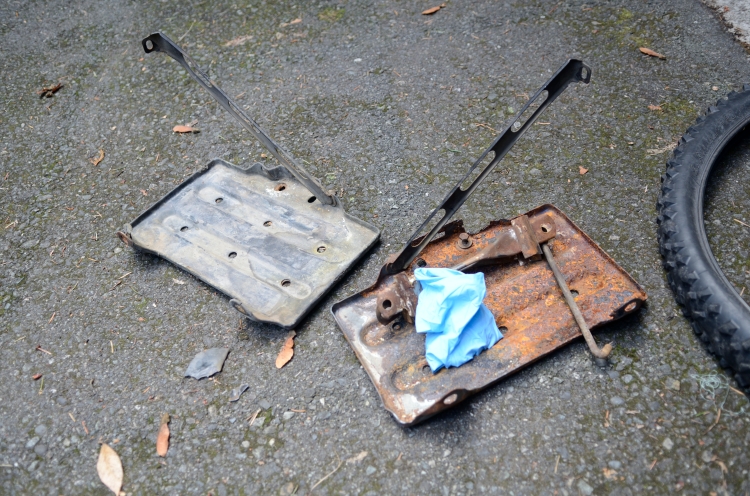
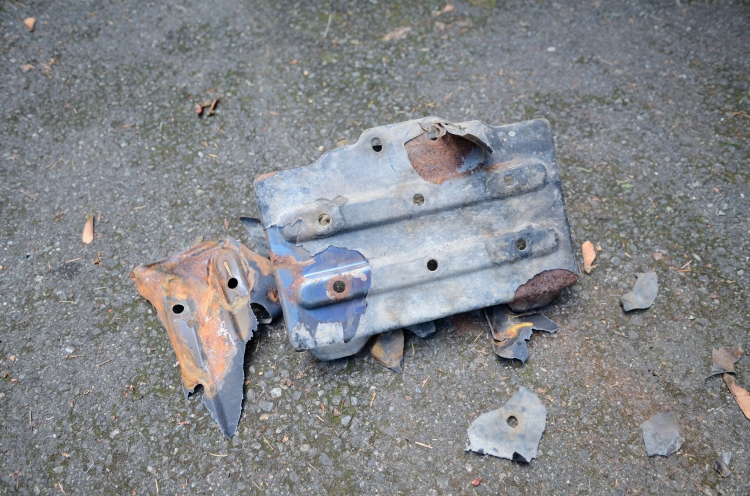
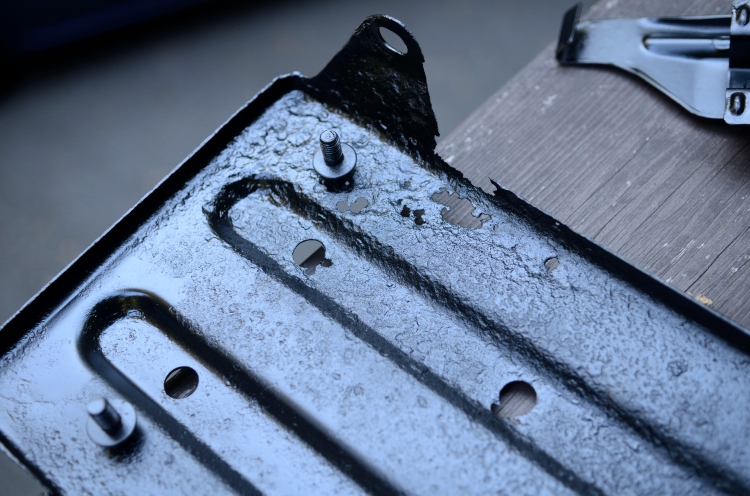
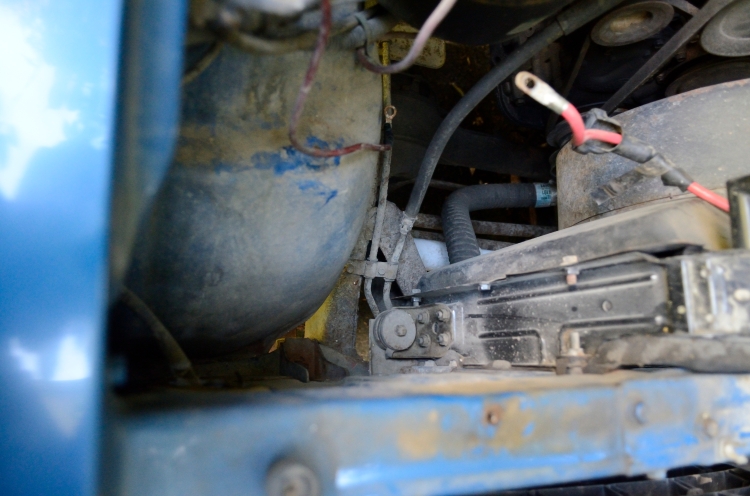
Saturday we remove and clean the batteries and see that the rubbery paint on the battery trays is delaminating. Pull on the rubber and there’s a ton of rust underneath. Yummy!
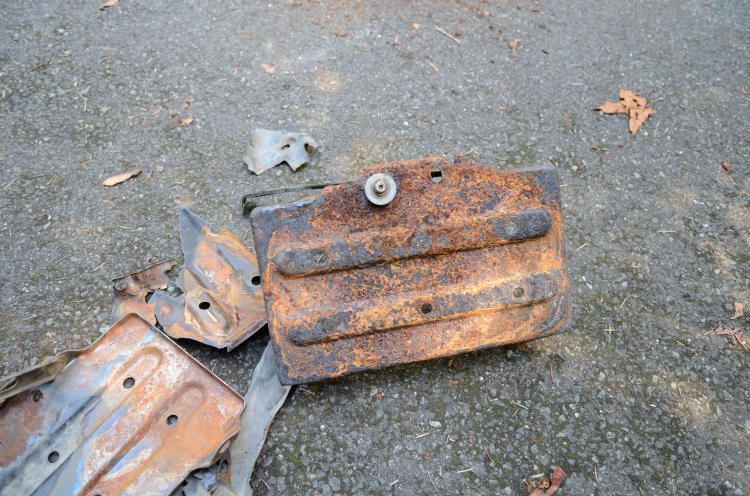
One side is worse than the other, probably that side saw its battery boil over a few more times than the other.
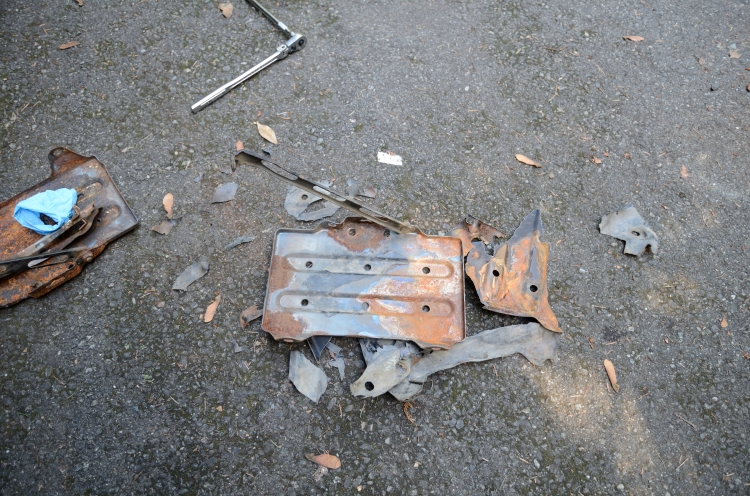
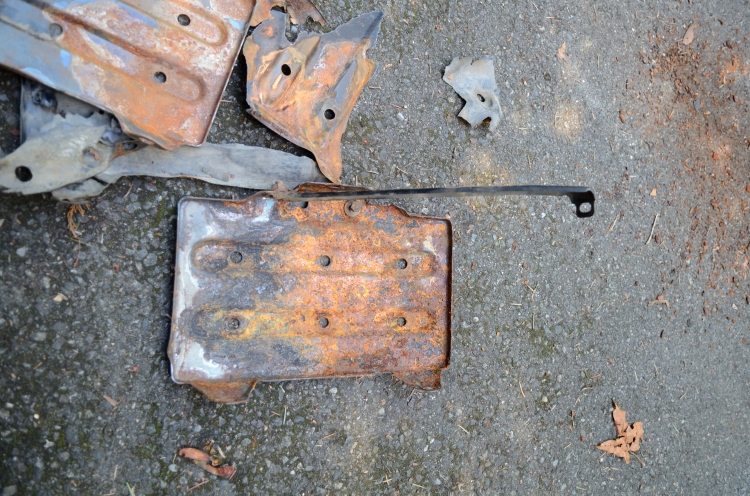
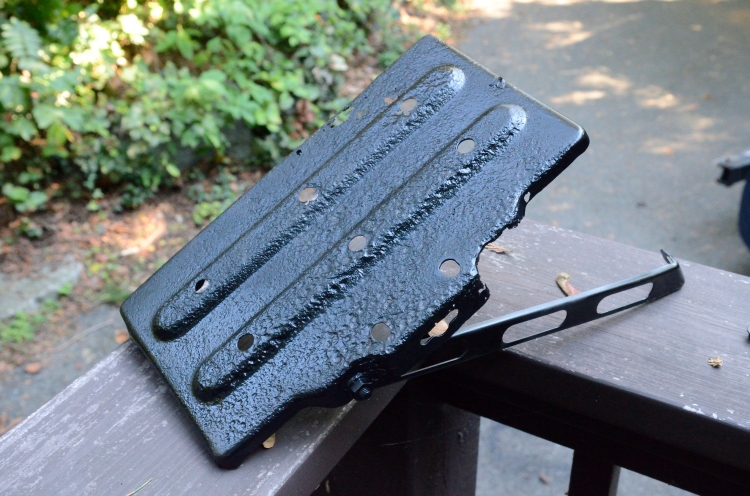
Remove the trays and take to my friend with a blasting cabinet, then spray with metal etch primer and then epoxy paint (this is a new thing to try, I’ve heard metal etch primer is the key to a good paint job, we’ll see I guess.) Problem with these modern paints is that they work so well that you don’t know if paint job is “good” for 20 years or so.
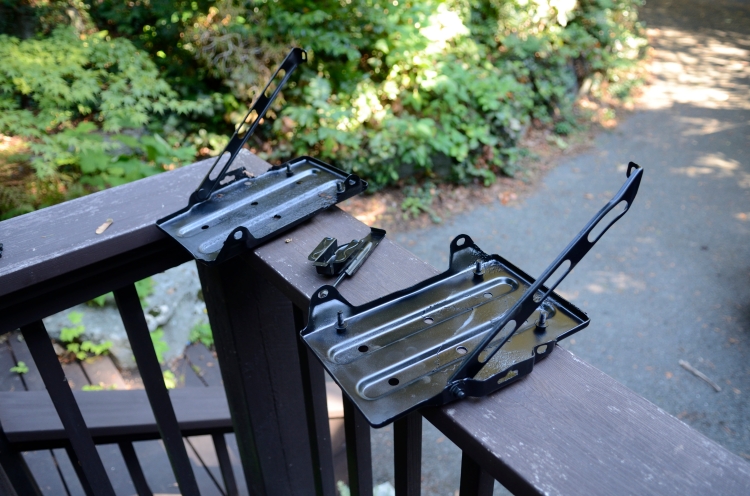
Painted with metal etch primer, then covered with the VHT suspension epoxy. Hmm. The epoxy is supposed to be “DTM” so maybe the primer won’t let it adhere as well? Live and learn we’ll see I guess.
The batteries are showing different voltages, one is 12.7, the other 12.4 I’m going to guess due to corroded cable ends and poor ground? Or something? I put the batteries on the smart charger and the low one takes more than a day to reach 12.7. Gotta keep my eye on it though but probably they’ll last a long time after the alternators voltage regulator is repaired.
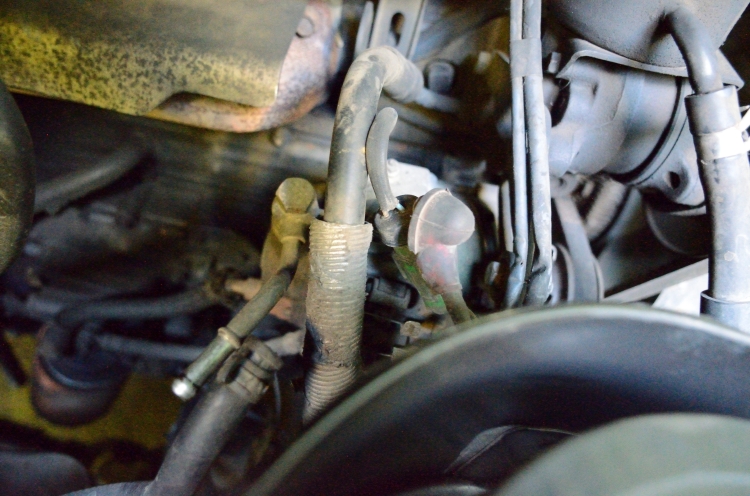
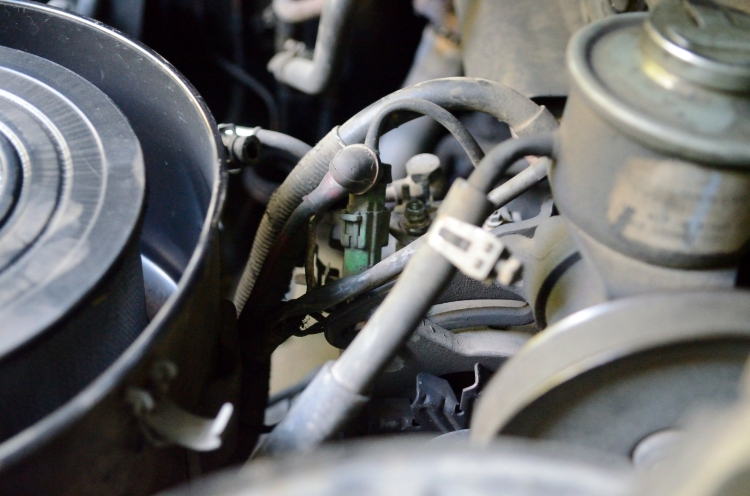
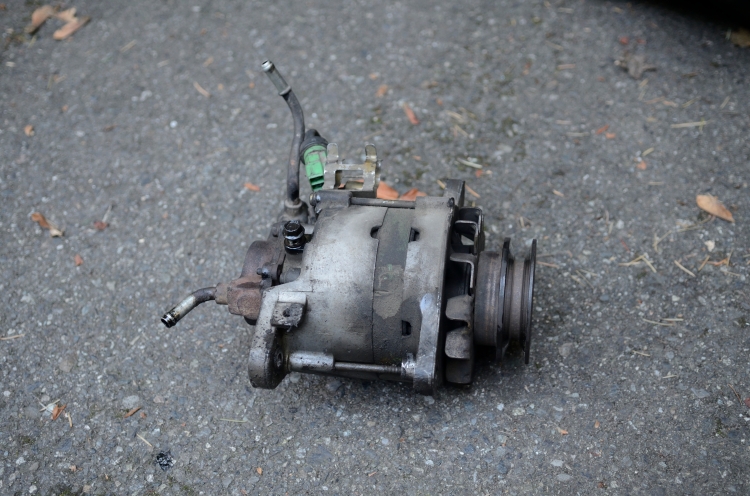
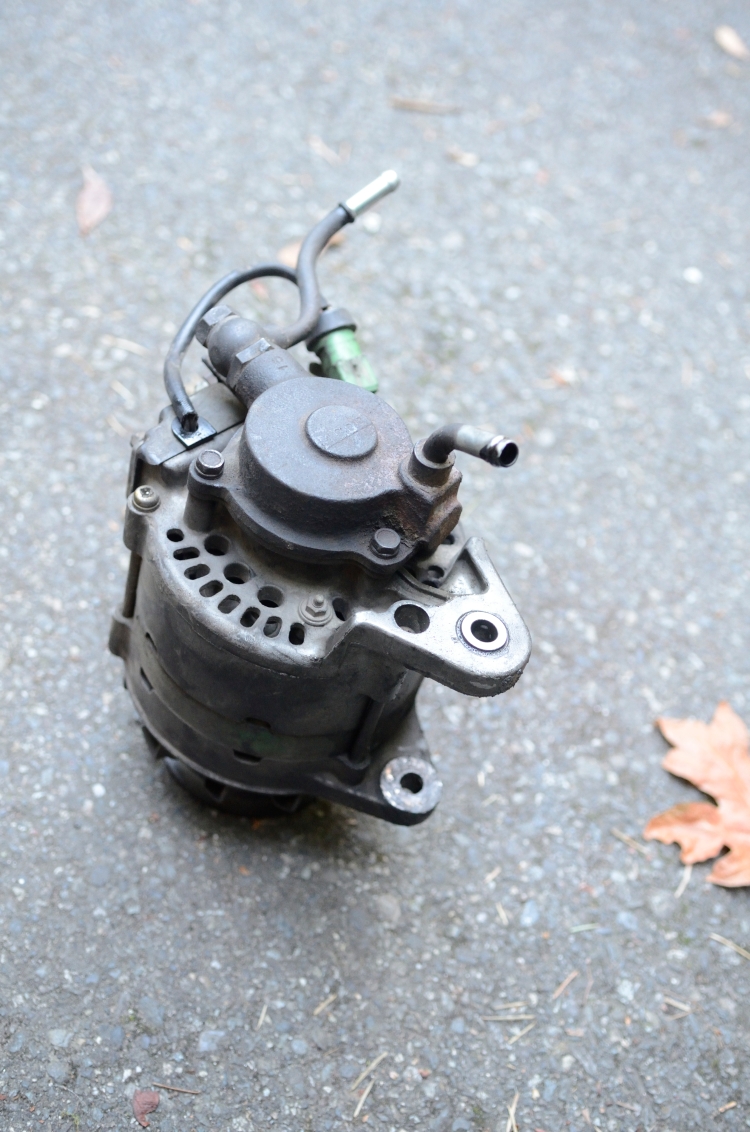
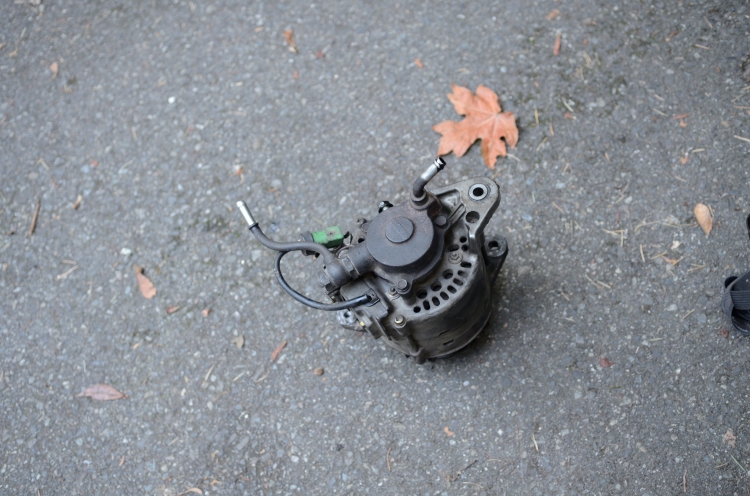
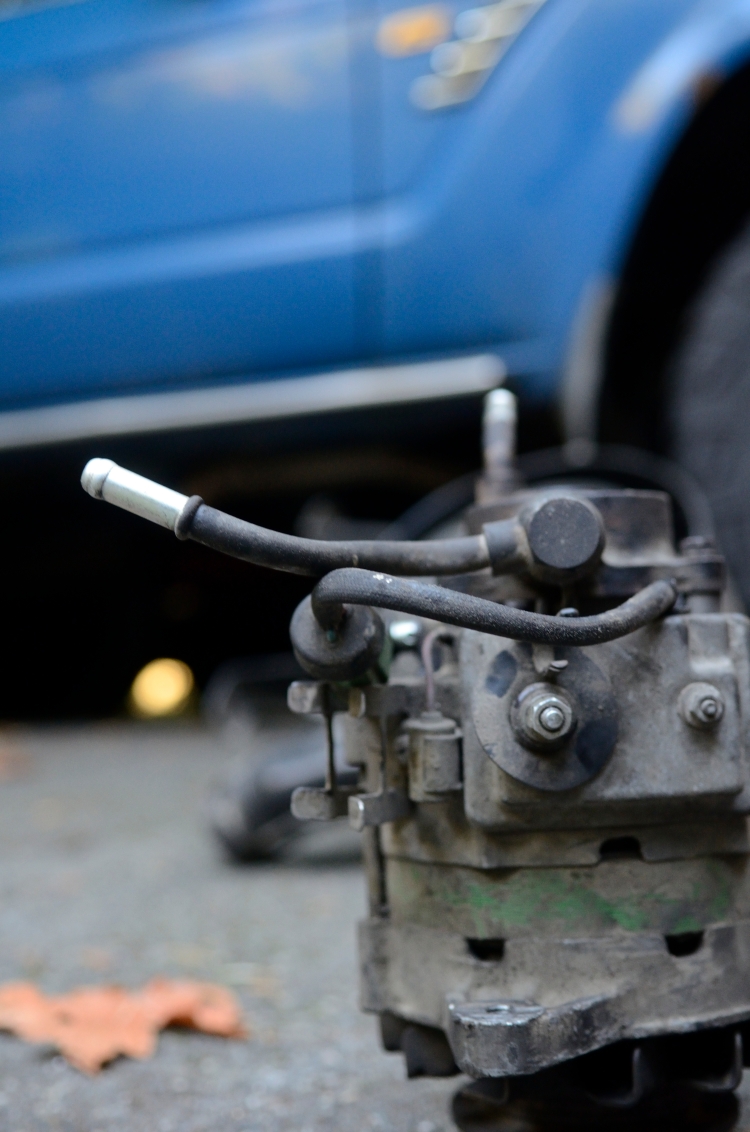
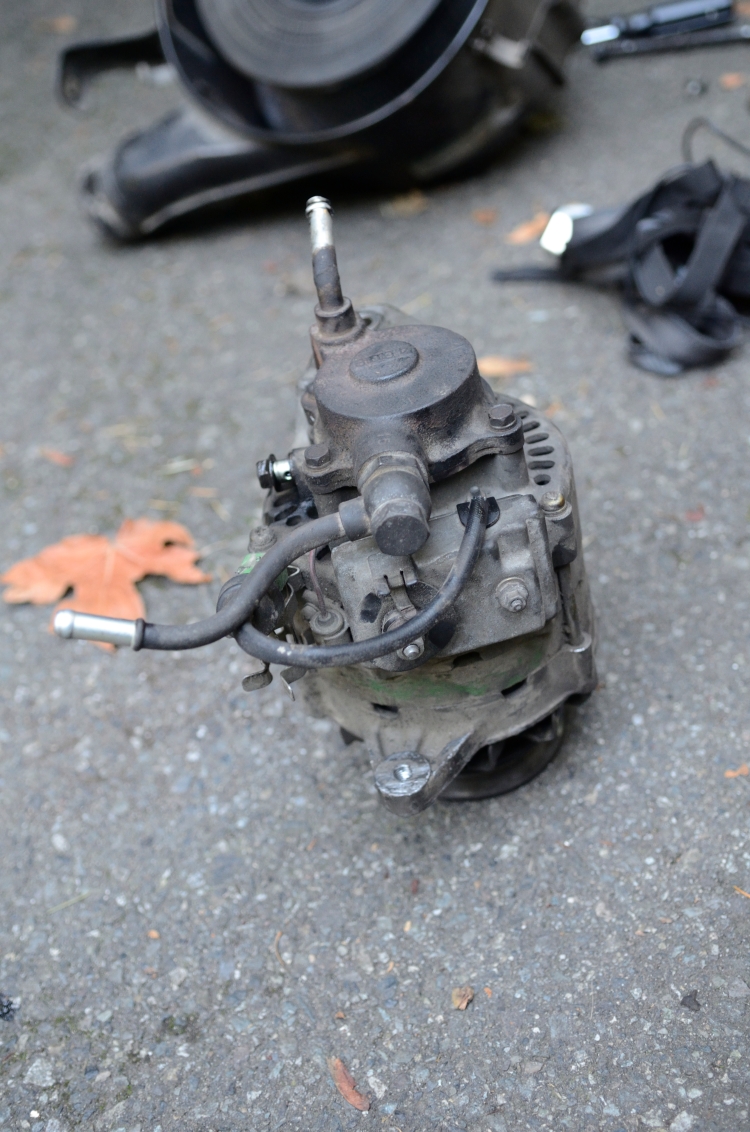
Remove alternator is a bit of a chore. Remove oil lines, disconnect electrical plugs. The adjustment bracket that alternator bolts to is pretty badly bent so difficult to slide the alternator around. I remove the pivot bolt from the bottom but alternator won’t come loose. I end up removing the airbox too so I can see better. That takes 5 minutes and really helps for access.
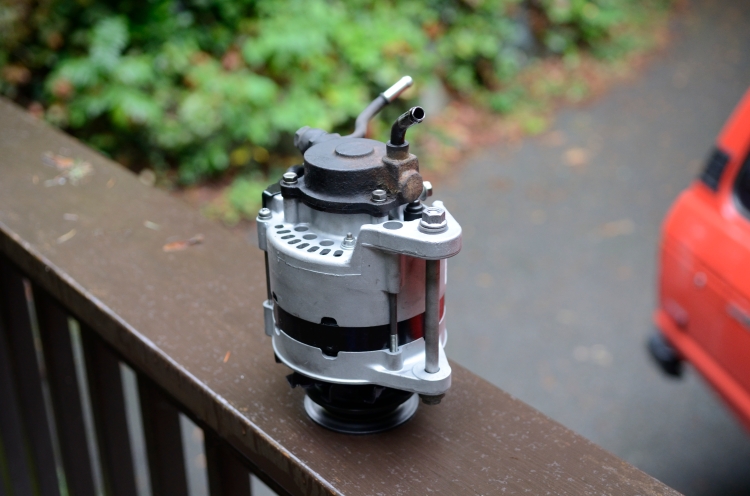
Factory manual doesn’t mention anything so I search on internet for an hour or so for special tricks. Finally find a post that suggests one must reef on it and if it doesn’t come loose… find someone stronger! Ok, I can do that. Sure enough pulling hard frees the alternator. The issue are the bushings that are pressed into the bottom of the alternator stick out a bit so it takes force to work the alternator loose. Drop it off at Romaine on Monday, so now vehicle is undrivable. Remove and clean all the cable ends, sand the grounding bolts for a better connection.
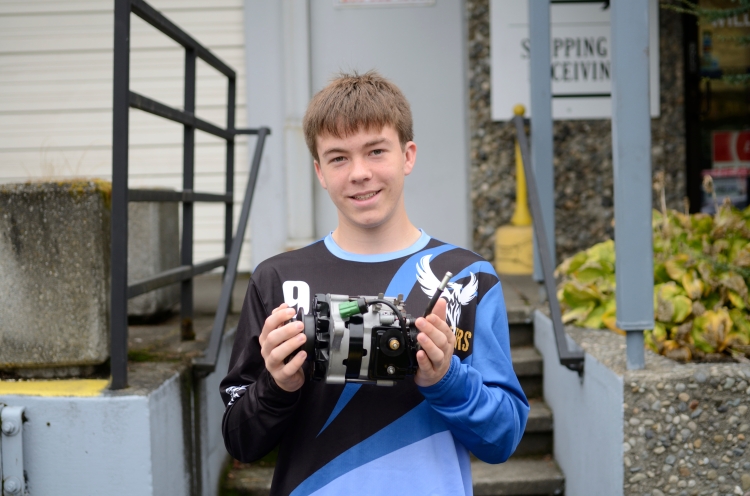
Alternator takes almost 2 weeks to repair due to Romaine’s builder being sick. Comes back looking like new though. Before installing we replace all the belts. To change belts the fan doesn’t need to be removed, belts can be worked around it. Fortunate we did swap the belts because coolant pump belt was cut almost clear through.
Now that paint has cured for a few weeks we paint the tray and surrounding area with fluidfilm ar. Also take the time to fluidfilm the airbox inside and out.
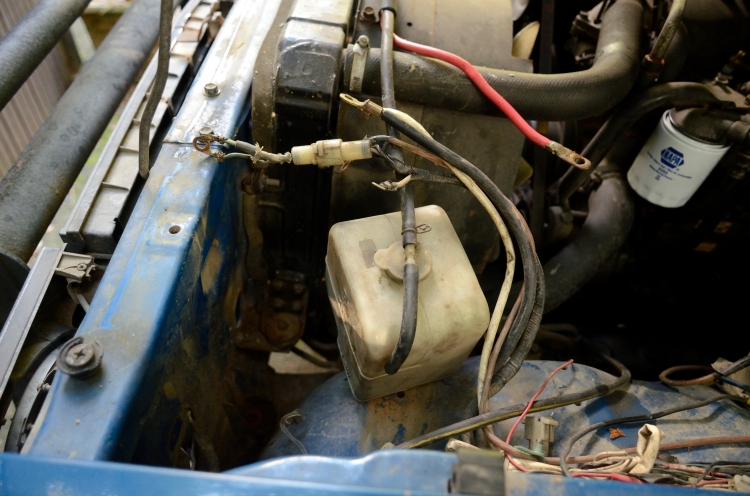
Alternator reinstallation I used a pry bar to lever it back onto the pivot, then replaced bolts and washers. We grind the cable ends to remove corrosion and ensure a clean connection. Also grind the area around the grounding bolt for each battery. Battery install went fine and luckily the myriad of cables all went to obvious places because I didn’t take notes when removing them. The batteries are a bit small though, truck can fit larger ones. Why buy a smaller battery than you can fit?
Big moment… the truck starts perfectly. No issues on our neighborhood victory lap.
