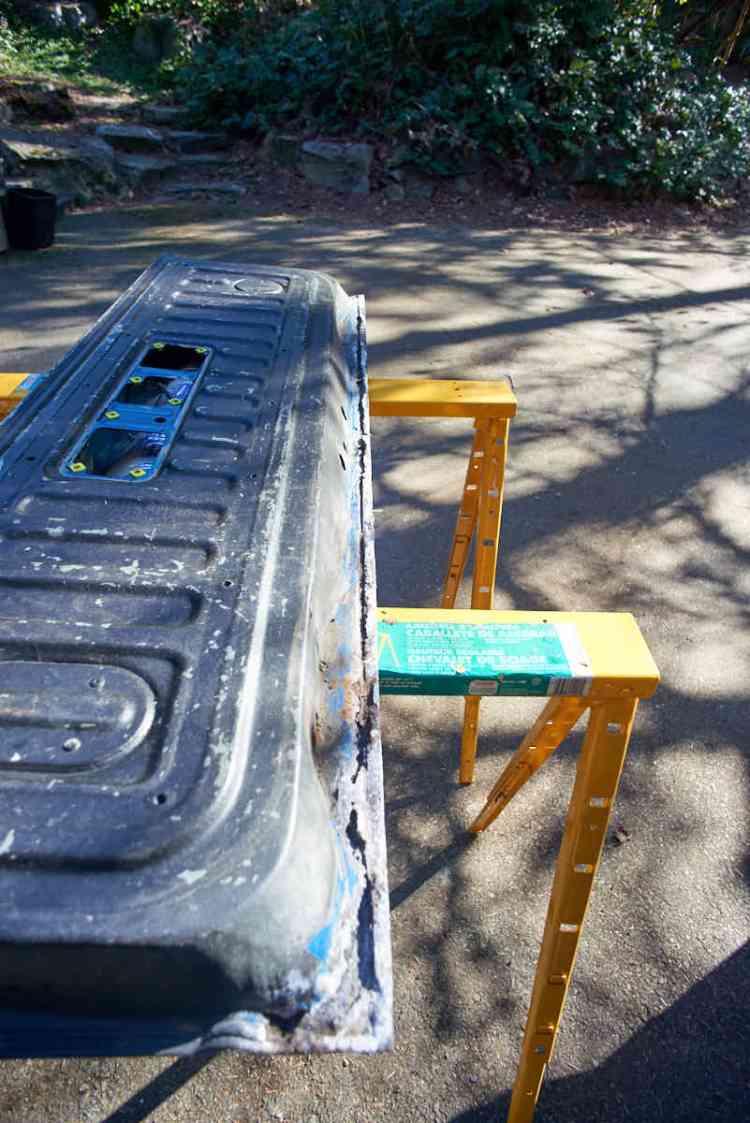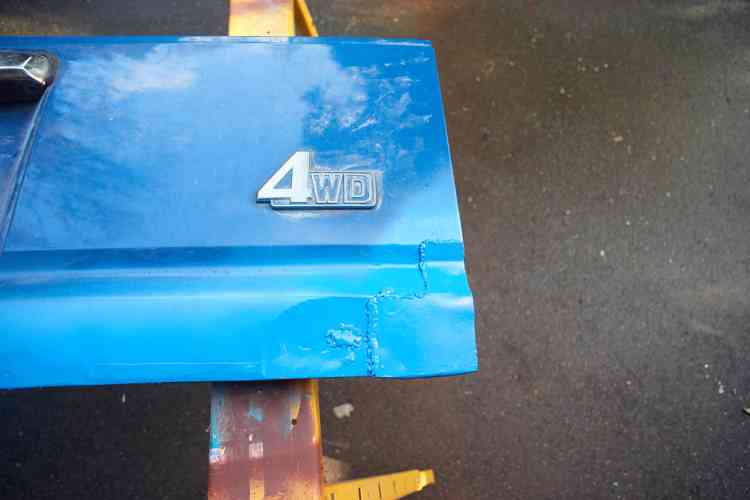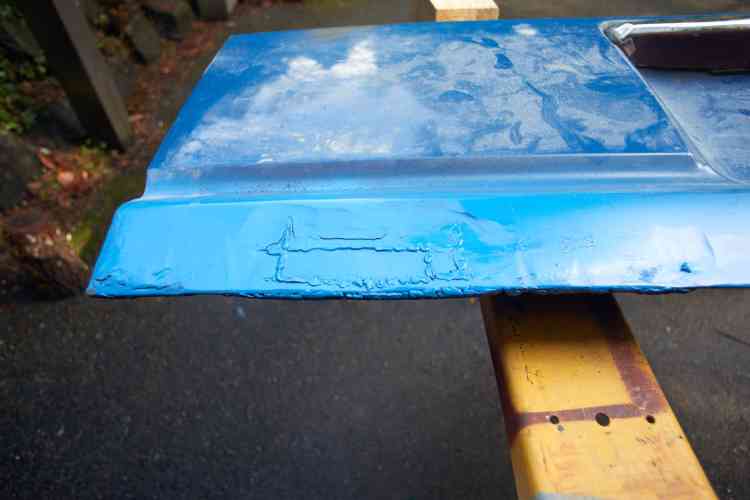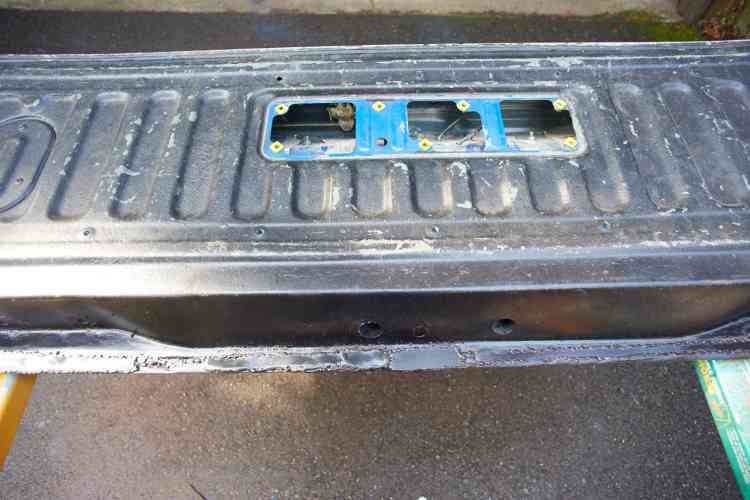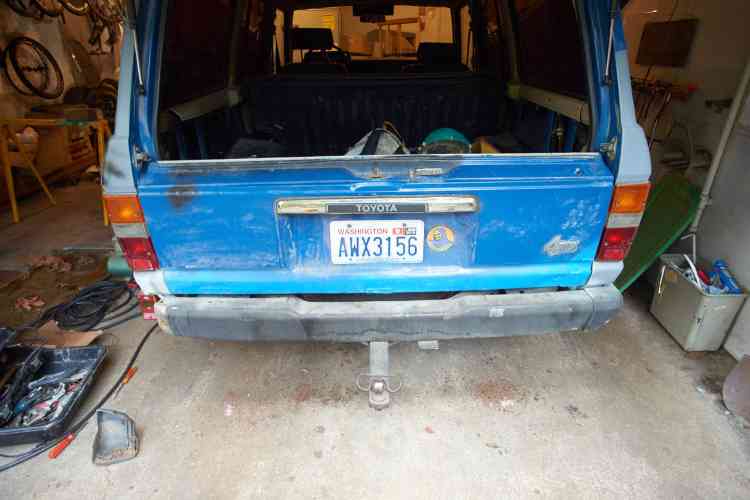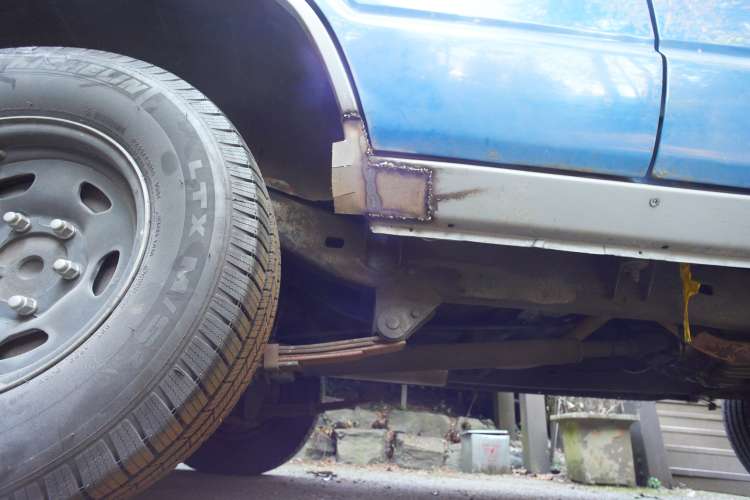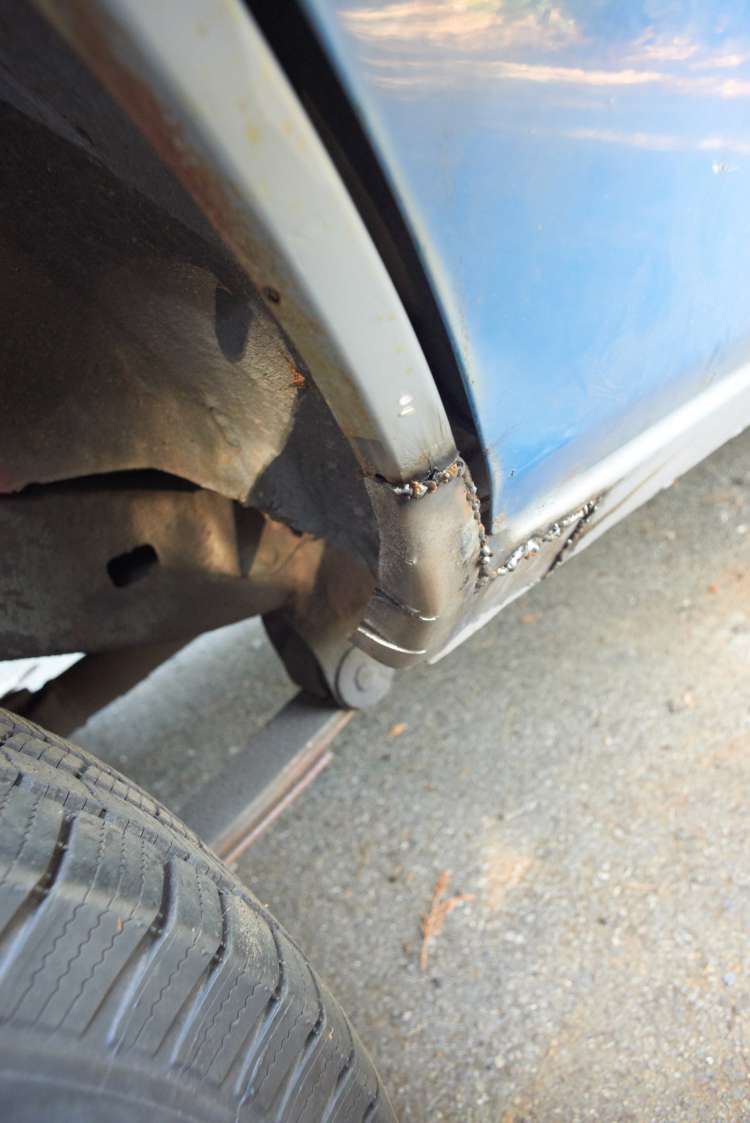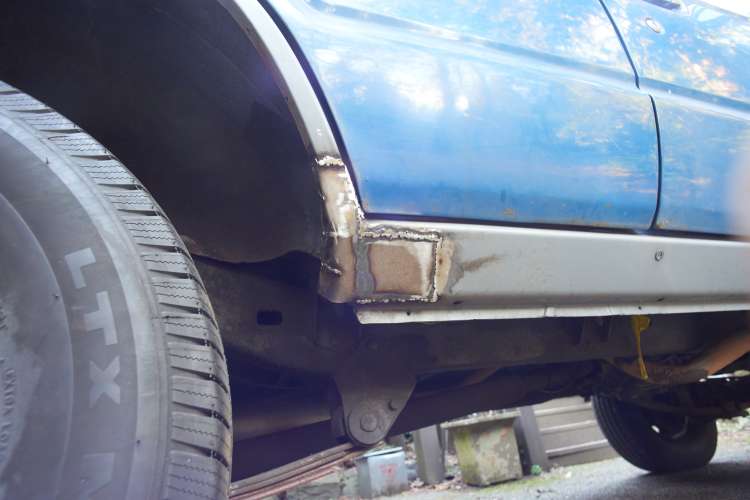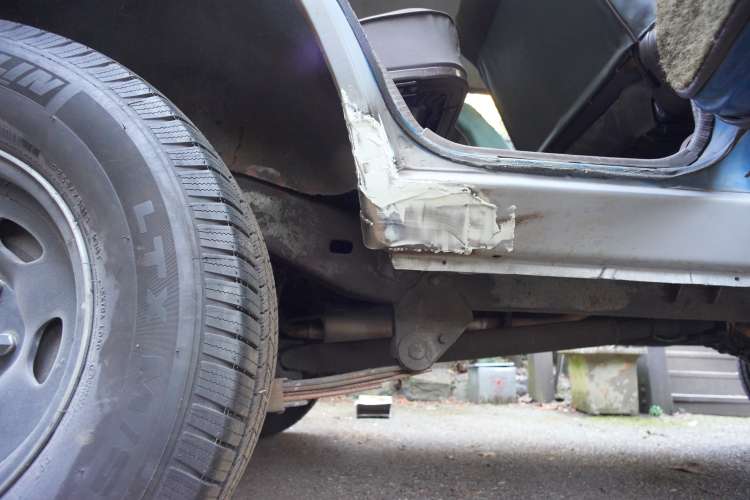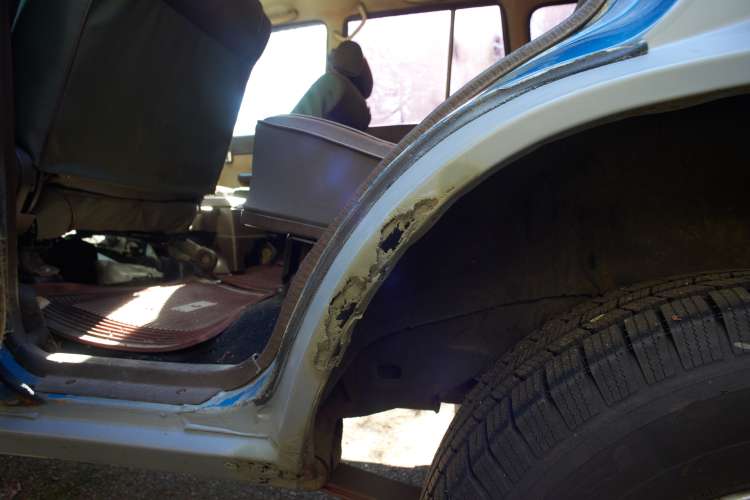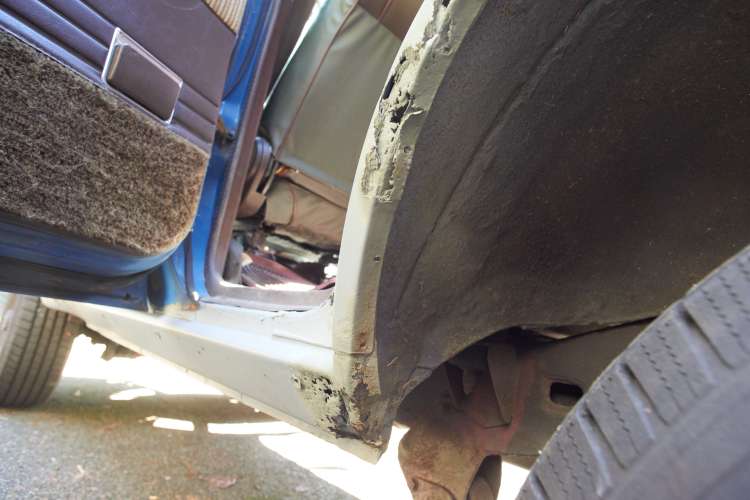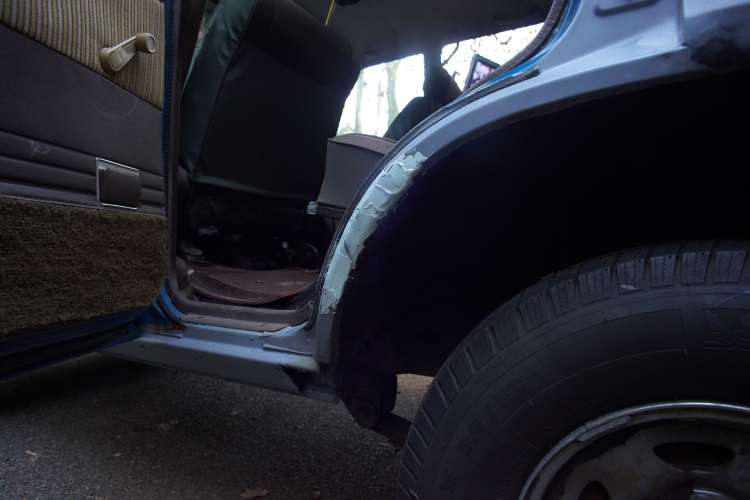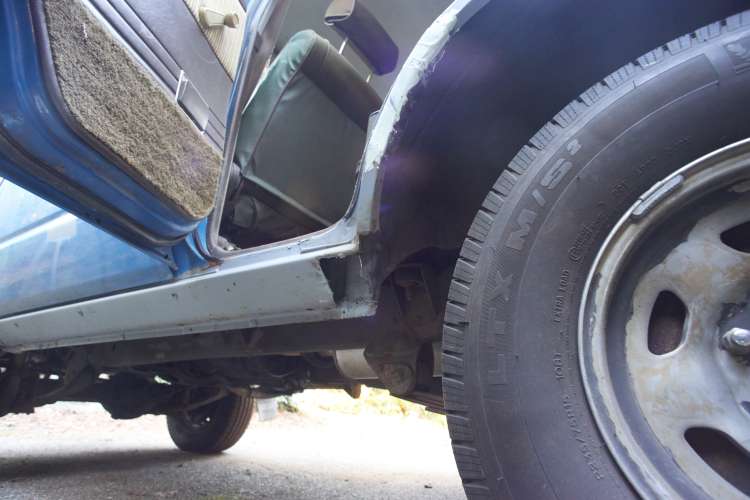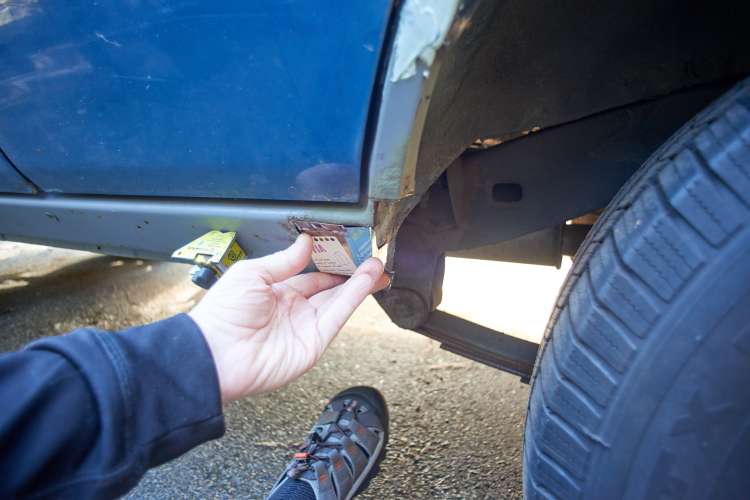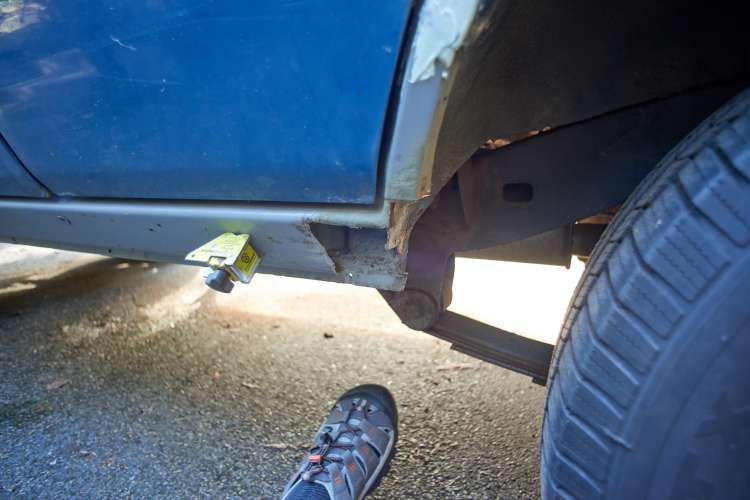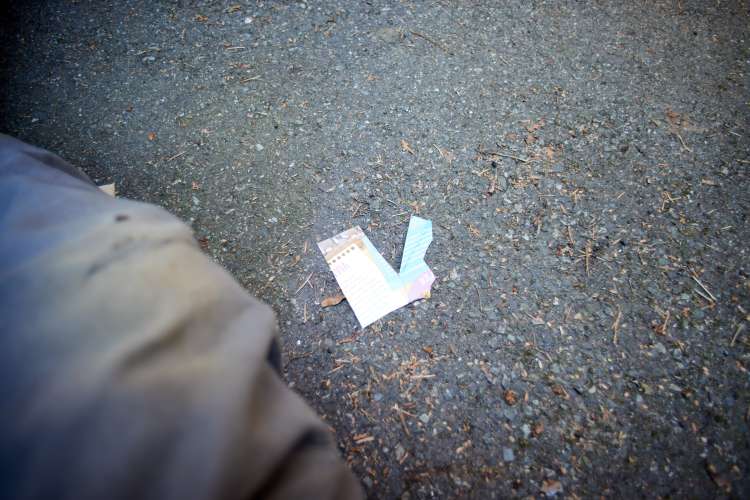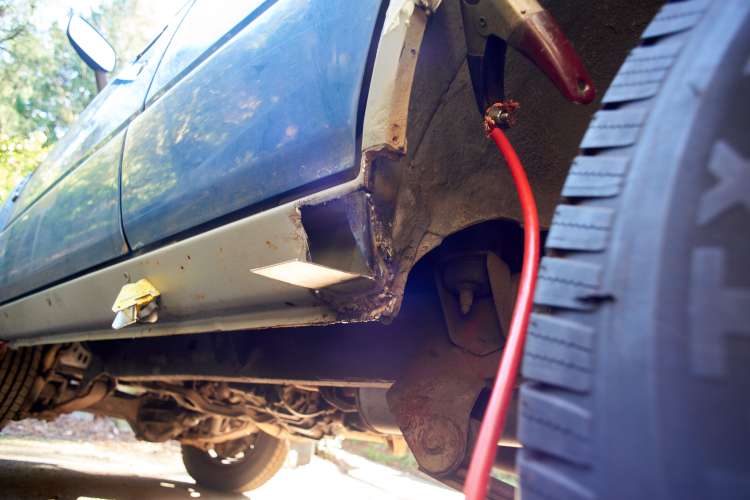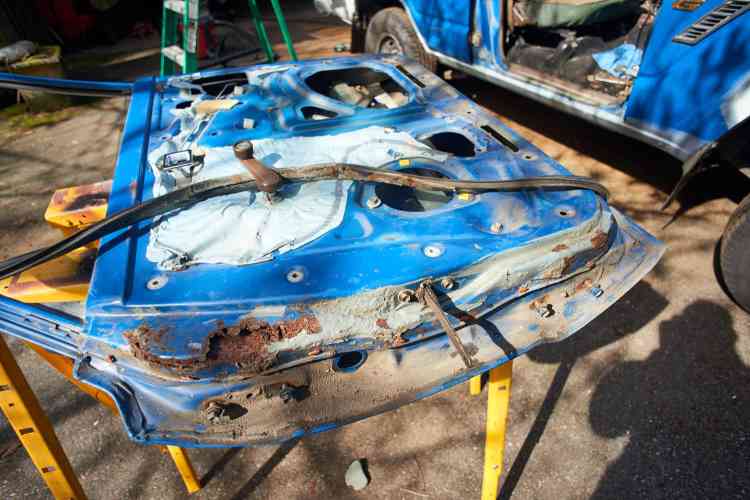
I dunno why, I glanced at the hinge area of the door. There was some flaky loose bubbly paint there… Gee. Picked at it with my finger and the paint came away pretty easily – in big chunks? Got a screwdriver and scratched it a bit… and it went through the metal. Made a sort of sickly scrunch sound. Like putting a screwdriver into some gravel? Awww… I’ll take the door off and have a look?
Door off, onto sawhorses in the driveway. Scratch a bit more with screwdriver… oh man. I’m going to be sick. Paper bag time. Breathe… gee. I’m going to need a new door. Wondering if I can find a matching color I find some used for $100-$150 but then the shipping is $250+. $400 for a new door? Hmm. For $400, at my beginner welder hourly rate of $0.25/hour, that’s 1600 hours of welding. I could probably build a whole new truck out of mig blobs in 1600 hours. I put the door back in the truck. I gotta think about this…
Next day I have another look. Gee. This doesn’t look SO bad. Its just metal. I can grind the bad stuff away and replace. Pretty clear though that the POR-15 from previous owner did nothing but hide the problem for a few years… can’t hide from the screwdriver of truth though…
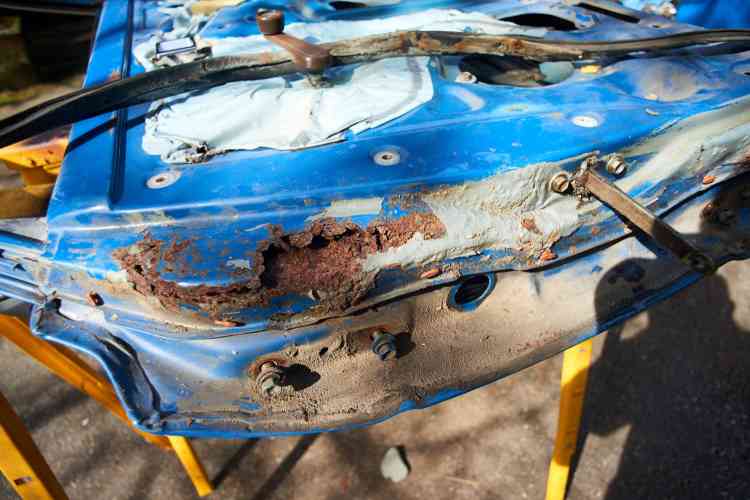
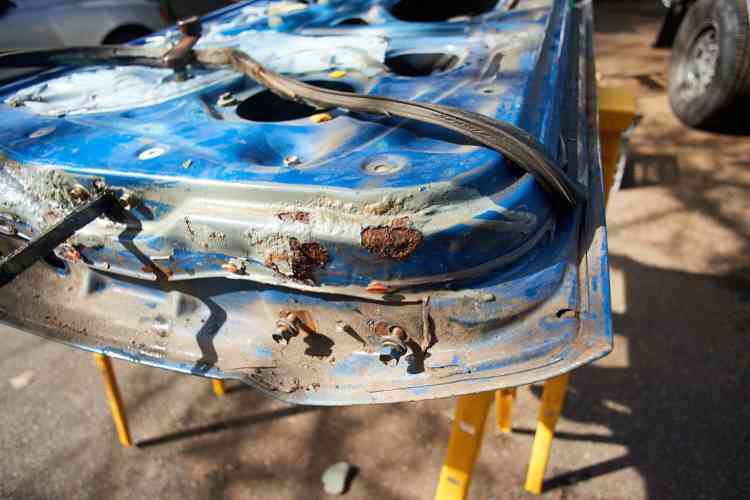
I take the door back off, get out the grinder. And the mask. And the face shield. Pretty much complete welding attire to protect from the brown cloud that’s about the envelope the area.
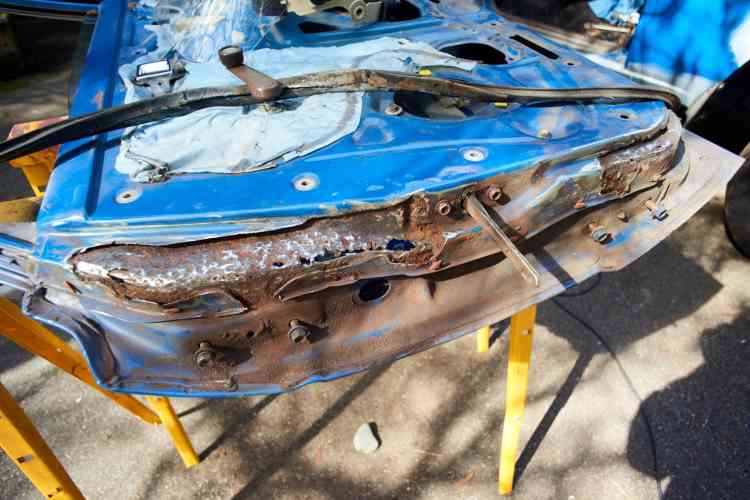
Most of the outer skin is just gone after grinding. Some of the second layer is gone too. But there’s a ton of good metal around. This is no big deal? I’m generous with the grinder to get to nice thick metal. I am a bit concerned that what I rebuild needs to fit like the old door. The area I need to be most careful about is where the rubber seal hangs on the door. Need to follow the original lines. Otherwise the door won’t door.
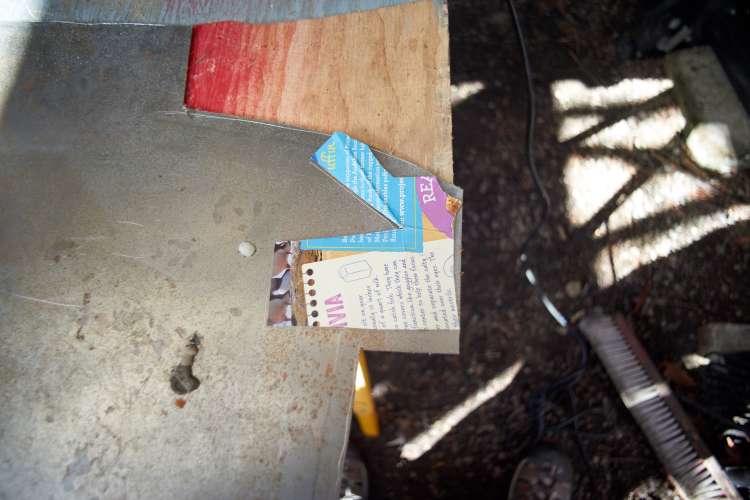
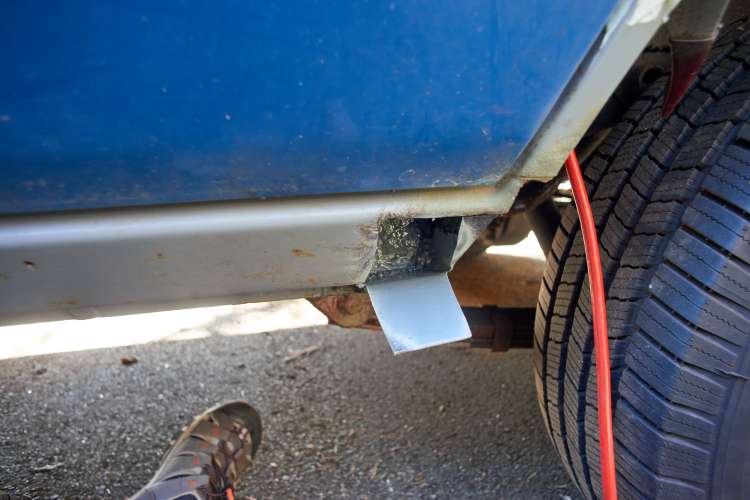
Tin snips and jigsaw, I cut out metal, hammer and bend, freehand repair pieces, then glue them into place with my mig.
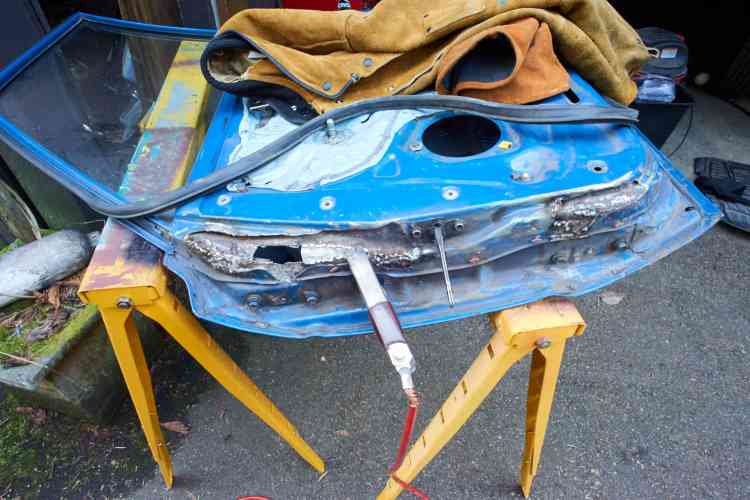
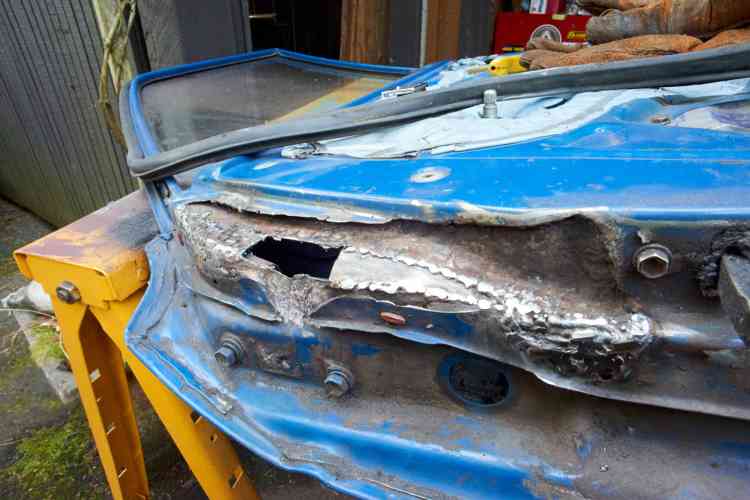
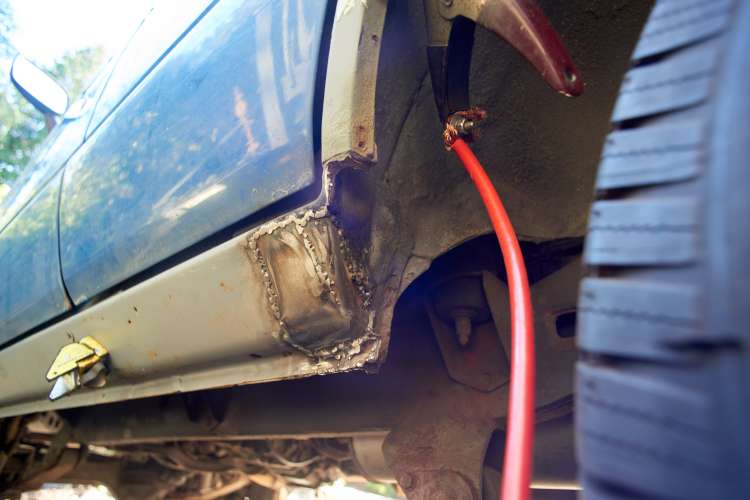
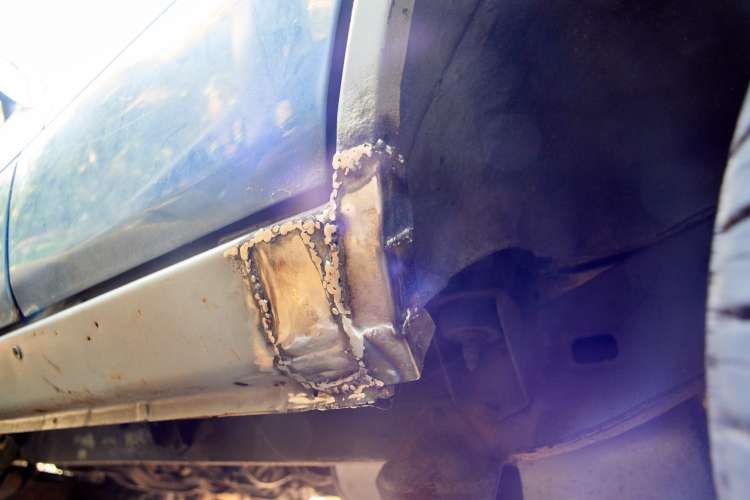
Having nobody to show me how this is done I get to experiment with a bunch of different techniques. The metal is nice and thick and the rust is gone I have no trouble with burn through. Lovely to have a big chunk of metal as a heat sink. The inner layer is soon filled. The other trick is lots of small blobs of metal. Zap-zap-zap. Pointillist style. Like Seurat? Gotta be careful though because its easy to have holes between the points. So sometimes after I’ve got the surface where I want it I’ll draw a bead across, melt it all a bit, then grind it back with grinder.
After I’m satisfied with inner layer I spray it all with zinc primer, then start on the outer layer. I’ve got 16g metal so that’s what I use. Even though the door is thick metal, the 16g is much thicker. I cut pieces to rougly the right shape, then grind down until they fit like my eye says they should. Weld one edge into place, then hammer the piece until another edge is in place. Eventually the piece is welded flush. Pretty neat!
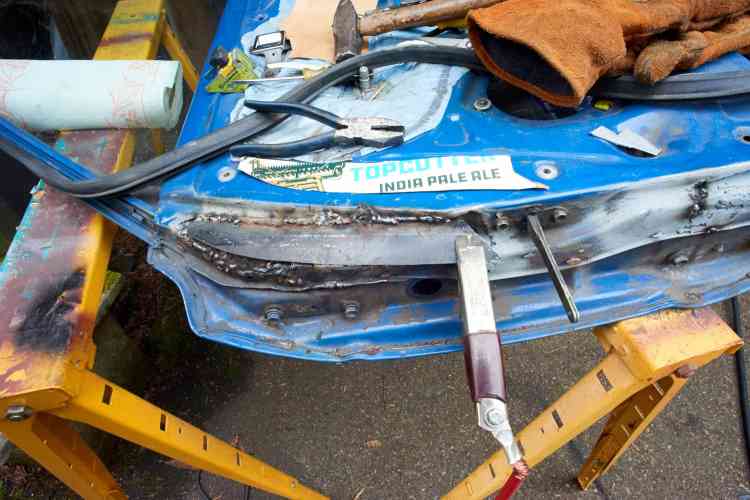
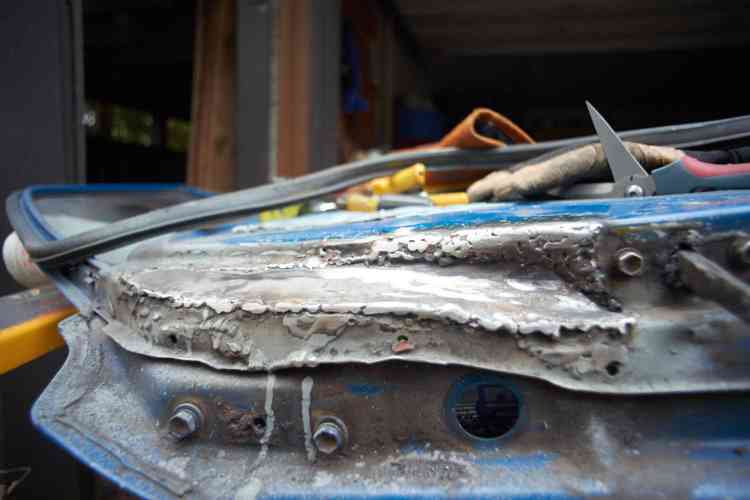
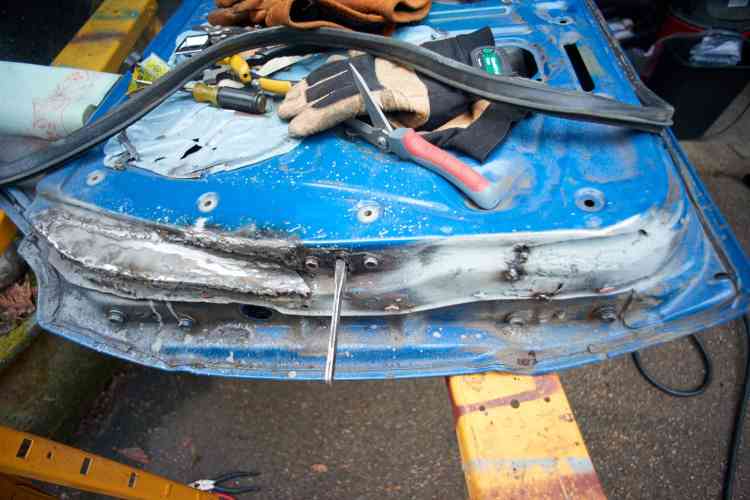
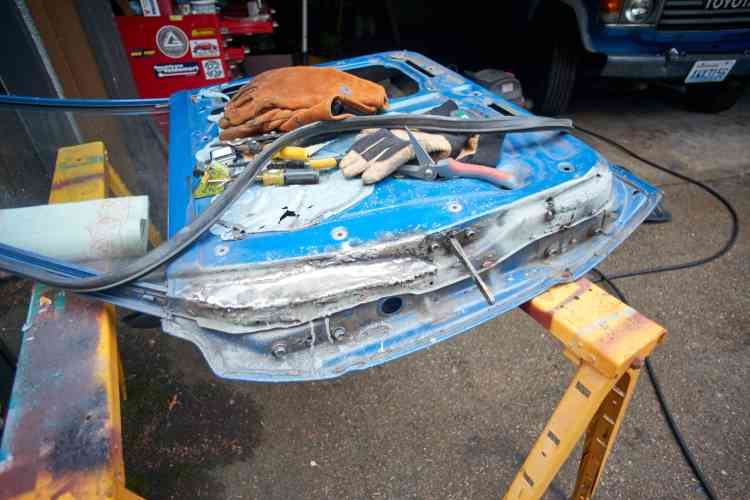
End of the day I hose it all down with zinc primer. Tomorrow I’ll be done!
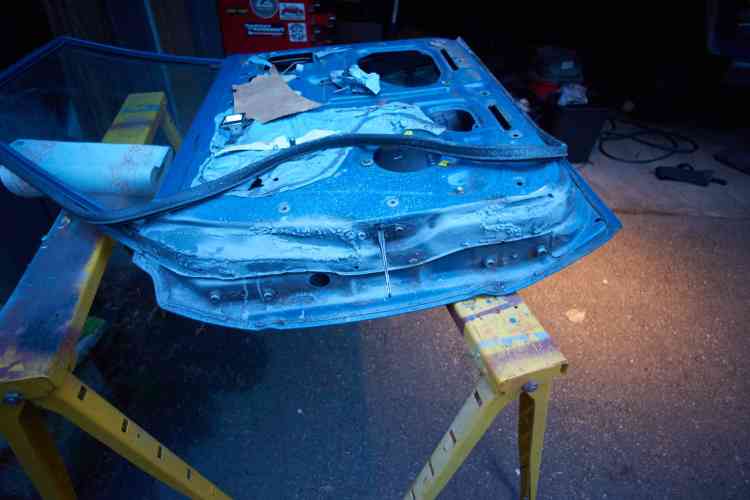
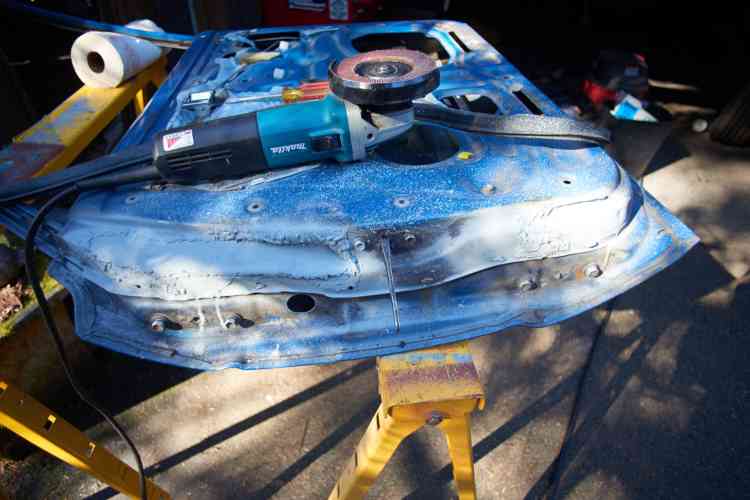
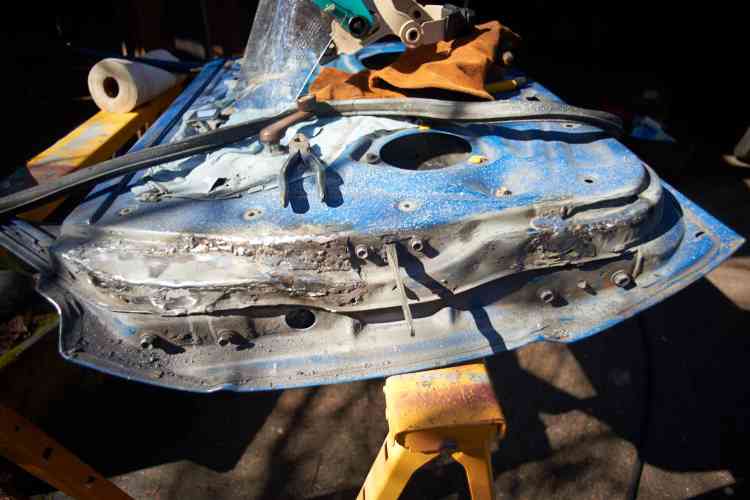
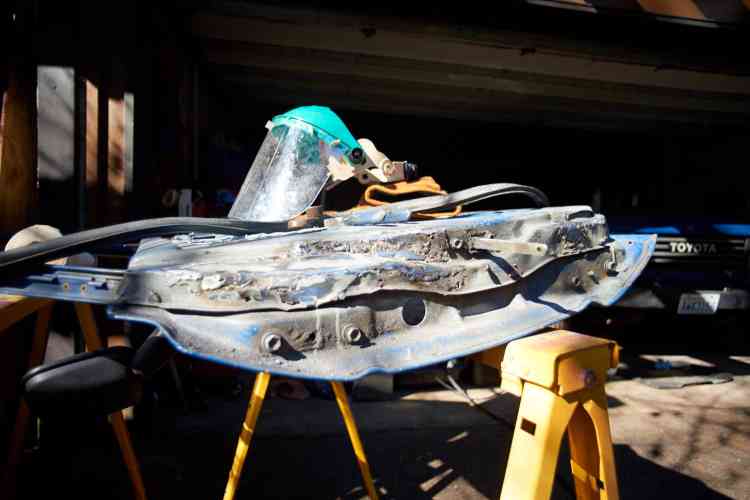
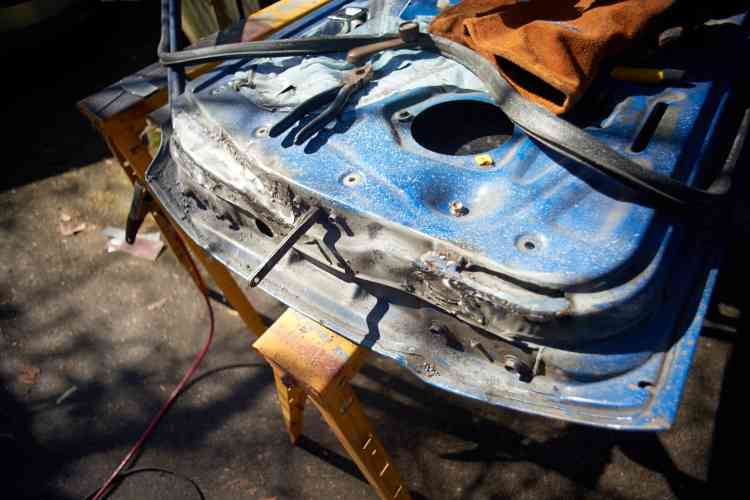
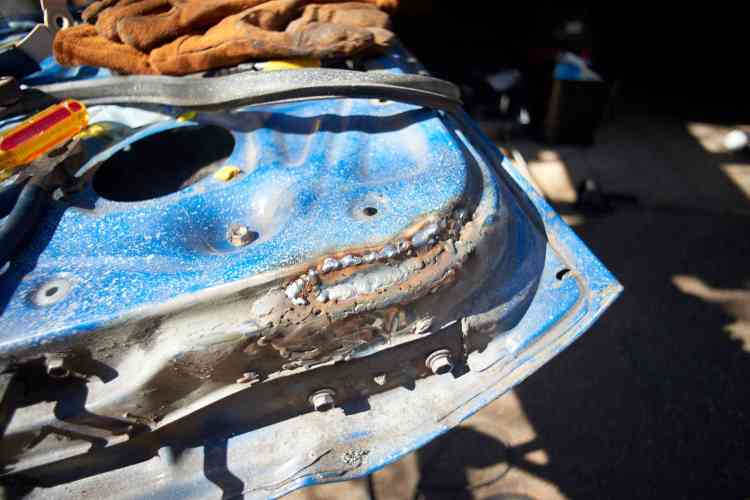
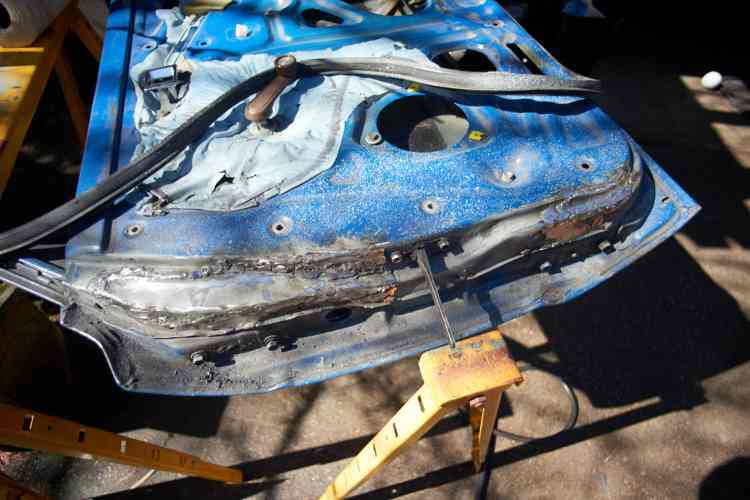
This was a pretty interesting process, build up with mig, then grind down. In one section I had too many pin holes, I needed more heat. So finally I cranked slowly across the whole area real slow, drew a huge fat bead. That did the trick.
What this process taught me is that no matter what, I can just grind all this muck away in the future and do it again. If there’s corrosion, if it starts to come apart, etc, if it looks at me funny… I can grind it away and do it again. I’m empowered!
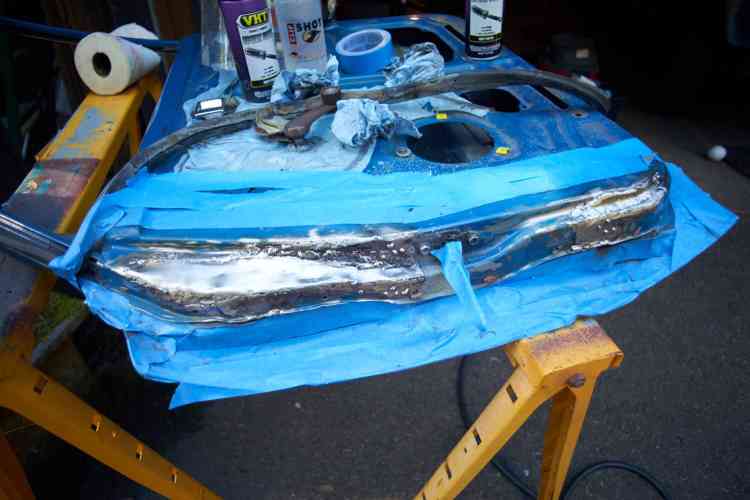
Last little bit went real slow. I used a bright light to see any pits or holes, fill them with weld blob, then grind down. Weld it all, grind it all, find more pits, repeat. But finally it was good enough. Hosed it all down with vht suspension paint:
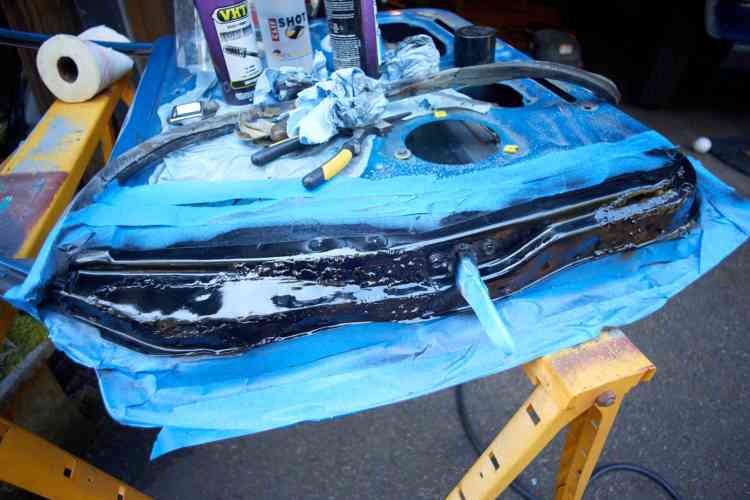
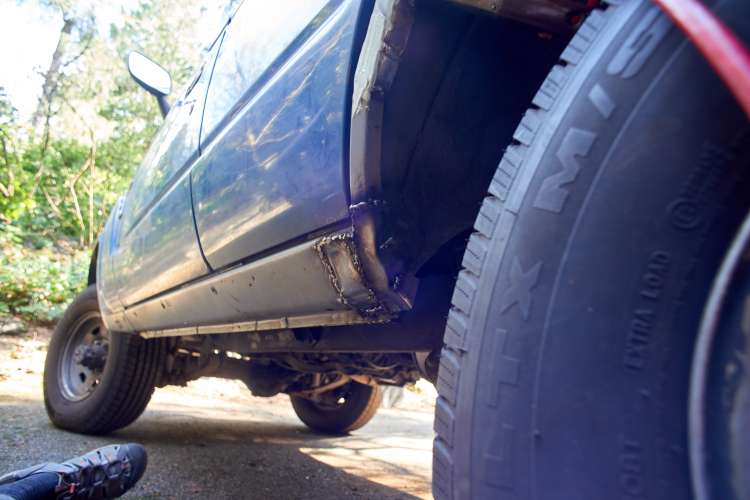
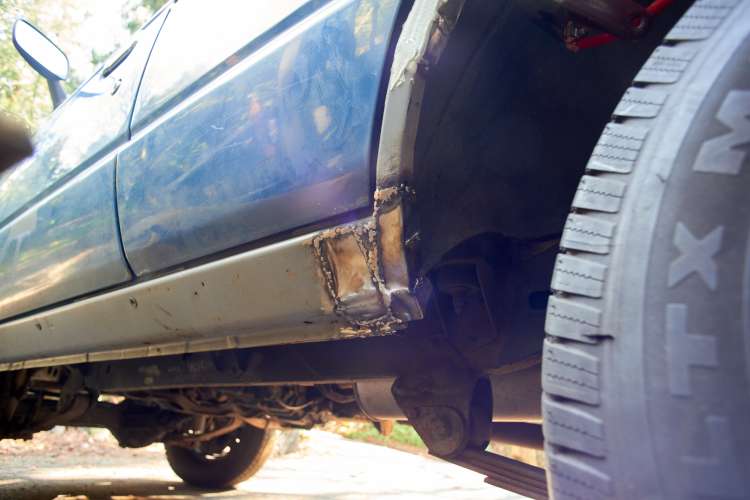
This maybe took me 10 hours of work? I reinstalled the door. It is lovely to see, smooth to the touch. The black paint isn’t really notable.
Most frustrating thing though… this is the best most complex work I’ve done and its pretty much invisible to anyone. I gotta open the door and point them into the hinge area and even then it isn’t really clear how much new metal is there.
Anyway. Now the driver’s door is looking at me funny. Looks like a lesser version of the same issue. Wonder how much easier it will go with my new skillz?
