Yeah, I left the lights on:Mountain biking at some distant location last weekend. Arrive back to the frankencruiser in the afternoon, load the children into the car and lo, the car doesn’t turn over, just a “Click!”

Oh jeese. I left the lights on. Couldn’t see them shining in the morning light. Good thing this car doesn’t need electricity to run and that I parked on a good slope. Release the brakes, back the truck out, then roll forward under the courtesy of gravity. Pedestrians walking side by side up the parking lot are loath to give way to a silently accelerating land cruiser. Shift into 4th, pop the clutch and engine catches instantly. I suppose startup was helped by being warmed all day in the blazing sun.
Drive 2 hours back to seattle and put the batteries on the charger. Batteries accept the full 6 amps. 3 hours later its still taking 5.5 amps. Oh boy, maybe the batteries are toast.
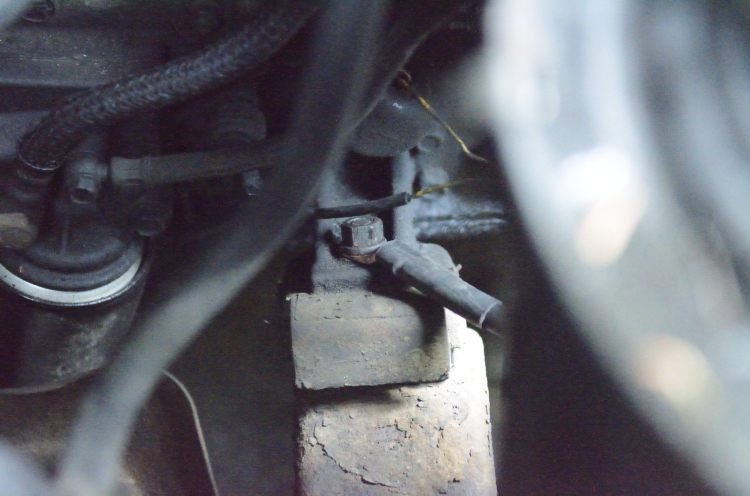
Next morning the batteries are taking 3 amps. On starting the voltage is very low, like 10.5 volts but dropping to 6 when I hit the glow button. Such low voltage after charging all night is a bad sign. I notice that the left battery has a crack in the plastic near the positive terminal, oh man, wonder if its leaking? Out comes the baking soda, distilled water. I fill the 2 cells that are low, scrub the batteries down with water and baking soda. The baking soda boils ominously, especially down the side of the battery and into the battery tray. Boilage means there is acid all over the thing. Not a good sign, its leaking…
I leave the charger on all the next day but signs are not good, looks like I’m in for a new pair of batteries.
Sure enough the engine starts right up the next morning. I drive to work and back home. That night I attach the charger again. 2 minutes later, walking past the rig I hear an odd hissing or buzzing. Hmm. Scan around with the ears and zoom in on the left battery, the one with the crack in it. The battery sounds like its boiling or off gassing something serious. Smells bad. This is not good, not something that should happen when only 2 amps are applied. Now I’ve no doubt. I disconnect the charger with plan to get a battery the next day.
The old batteries:
For the record the batteries in the truck were 3 year old Energizer Deep Cycle 27DC. The side of the battery said “Marine Deep Cycle” but I doubt they were truly deep cycle as they listed 850 CCA each which is high even for a starting battery. Also amazing they list 180 reserve capacity, which is huge and probably optimistic. These batteries are both dated 1/10, so dead after only 3.5 years and they did not age well, I suspect the high CCA came from thin plates and they didn’t survive the deep cycling that previous owner applied.

Cracked case to the right of the positive terminal, leaking acid all over everything.
The new batteries:
First temptation is to get the super awesome excellent batteries that the previous owner had installed. Searching old messages they were Optima D27M, “Blue Top” deep cycle batteries. “Spiral Technology”. They’re also $215 each. I search a little more on the internet and learn something about batteries. First that the optimas are really expensive and don’t seem to last longer than regular batteries. Really the longevity of batteries depends upon their usage.
Research online, perhaps the best overview of batteries is this solarpower web site:
http://www.solar-electric.com/deep-cycle-battery-faq.html
By Wikipedia CCA is cold cranking amps, means (from Wikipedia):
Cold cranking amperes (CCA) is the amount of current a battery can provide at 0 °F (−18 °C). The rating is defined as the current a lead-acid battery at that temperature can deliver for 30 seconds and maintain at least 1.2 volts per cell (7.2 volts for a 12-volt battery). It is a more demanding test than those at higher temperatures. This is the most widely used cranking measurement for comparison purposes.
This value matters as a starter needs sufficient current to turn the engine over. There is not much benefit to actually having huge CCA, but often a higher valued battery will be able to deliver more current when the battery is drained. The CCA has to do with the amount of surface area of the plates in the battery.
Downside of CCA is that the plates will be thinner, will corrode and wear more quickly, so there is a tradeoff.
Another orthogonal measure of battery performance is Reserve Capacity (again from Wikipedia):
Reserve capacity minutes (RCM), also referred to as reserve capacity (RC), is a battery’s ability to sustain a minimum stated electrical load; it is defined as the time (in minutes) that a lead-acid battery at 80 °F (27 °C) will continuously deliver 25 amperes before its voltage drops below 10.5 volts.
This matters if you are drawing current over a longer period, for example running a fridge in the back while the engine is off.
These two battery properties are balanced against each other to form 3 categories of battery:
Starting Battery: used for starting, short draws of high amperage. These batteries will be quickly ruined if they are discharged more than about 2-5%.
Deep cycle battery: used for continuous low power draw these generally tolerate a 50% draw without damage.
Marine battery: these are a balance of deep cycle and starting. They provide sufficient CCA to start a motor, but otherwise are built with thicker plates or lead sponge to survive a deeper draw.
Replacing the batteries:
End of the day I was convinced by a set of posts I saw that generally suggested:
Get the biggest heaviest battery you can find that has the Lowest Sufficient CCA
That is, CCA must only meet your needs, unused CCA compromises durability. An example is Golf Cart Batteries, or forklift batteries, which have CCA of 30-40 and which weigh 100 pounds. Those batteries tolerate deep discharge to almost 20% because their plates are so thick.
I see Costco sells the Interstate 27DC under its own Kirkland brand. They’re $88 each, rated much more conservatively at 600CCA and 115 amp hours. Seems a good price compared to the other stores I visited and both Interstate and Costco have a fine reputation. It seems to meet my “heavy and low cca” requirement.


New batteries from Costco, made by Interstate.

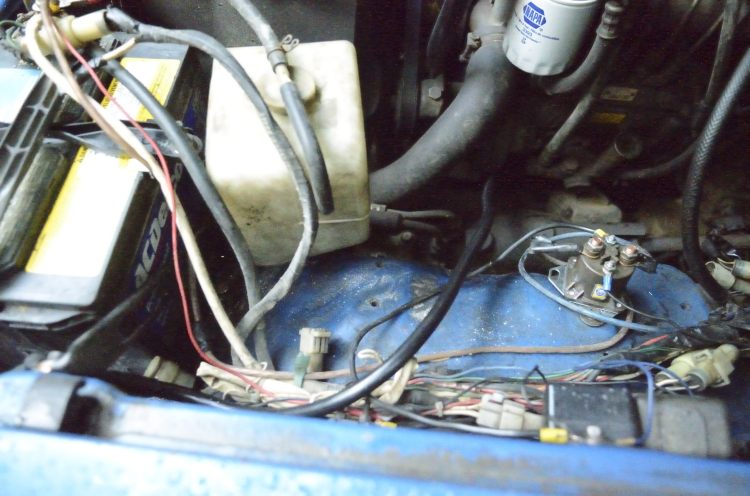
Canadian BJ60 with Arctic Package comes with two batteries. As a 1984 it is still 12 volt, same as nearly every other car on the road. The two batteries are connected in “parallel” meaning that the batteries are connected: positive to positive, negative to negative. By connecting the batteries in this way the voltage remains at 12 but the capacity is roughly doubled, double the CCA, double the reserve capacity.
I put on my gloves and disconnect the batteries, pull them out of the truck.

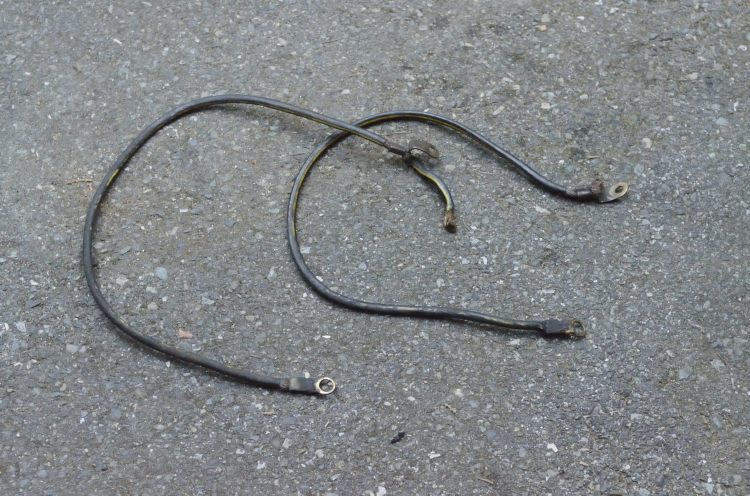
View of the two batteries, one on each side, with connector cables.
Out with the old, in with the new.

The new and old batteries
Once the batteries are out its an opportunity to inspect and clean the battery tray. They look amazing and new, until I tapped the base with a screwdriver. Uh oh, looks like the rubber coating has detached from the metal, no doubt there is rust underneath:

Oh yeah! Classic Rust in battery tray. Battery acid is nasty stuff! This is right before I peeled that rubber coating off the metal.
Turns out they are both pretty rusted, the one with the leaky battery maybe a little more so. I peel and scrape, then sand. Then clean with degreaser. Even scrape from underneath. Let the water dry and then apply a coat of zinc galvanized repair paint:

Galvanized paint to the battery tray.
Yes, this is not a professional job. I should take the trays out and media blast. That would take days though and I need this done by the weekend.
After an hour for the first coat to dry I pull up any remaining loose rubber coating and apply a second coat.

Coat of zinc galvanized paint.
Later that evening the paint is dry to the touch. I find some awesome black epoxy suspension paint and recoat everything, also sand down and repaint the battery hold downs. Let it all dry overnight.
I also put the new batteries on the charger.
In the morning the epoxy paint still smells toxic but is dry to the touch. I pull out the pail of Fluidfilm and coat the battery trays top and bottom, all over everywhere including the frame where the washed out battery acid had dripped.

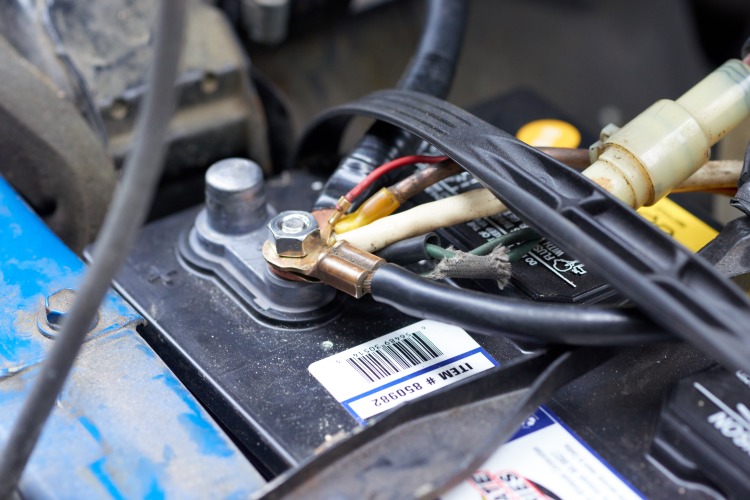
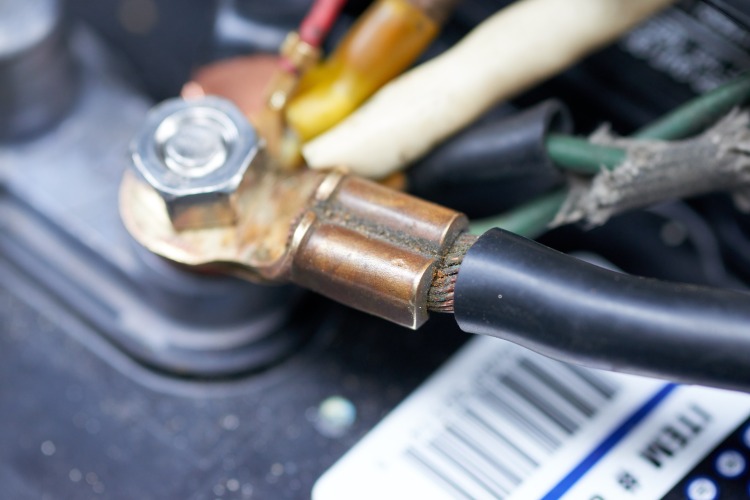
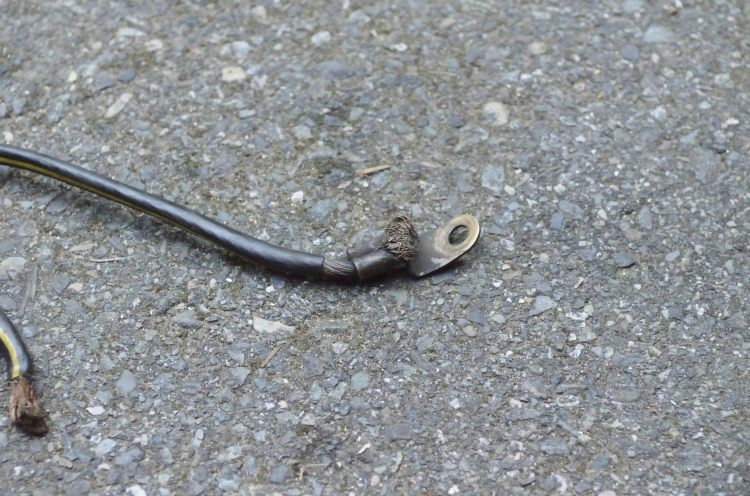
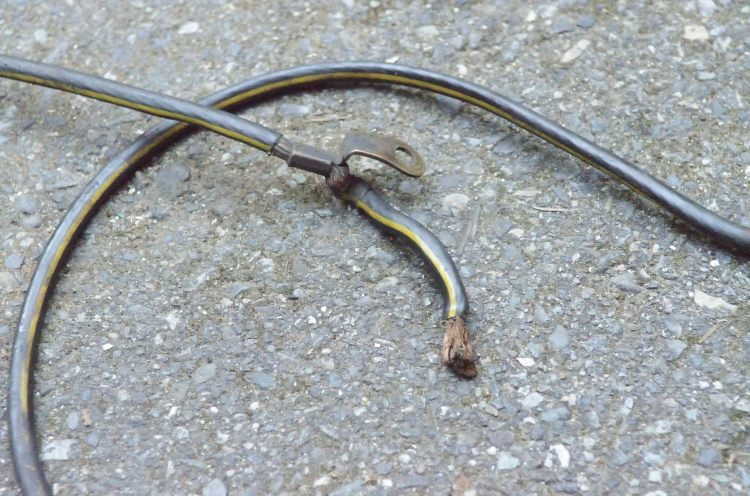
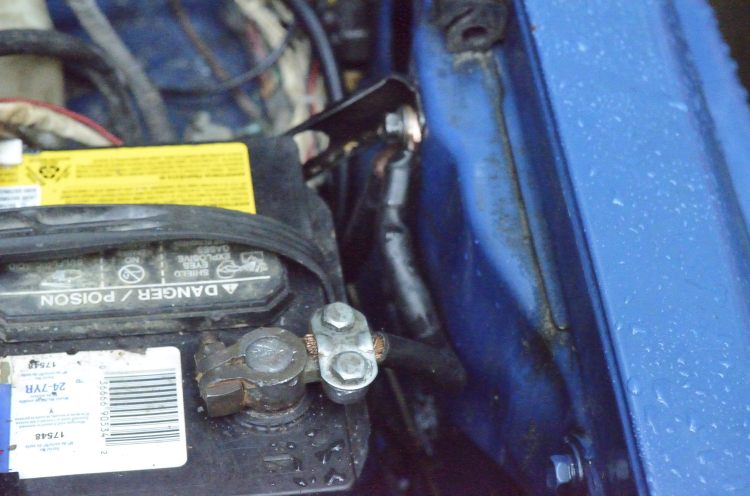
Connectors are shiny after buffing
I also take out the sander and buff all the cable connectors in the car (seriously corroded and nasty) so they’re all bright and brassy.
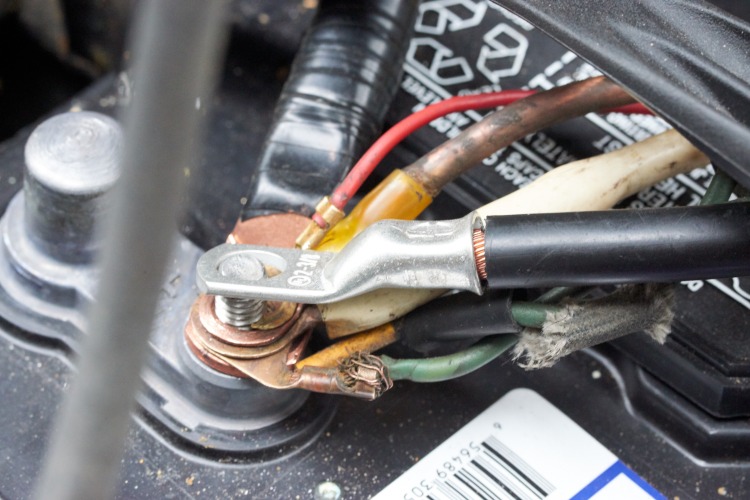
Install the new batteries, recoat the terminals and everything with more Fluidfilm.


Fluidfilm caked onto battery terminals. Prevents corrosion and arcing.
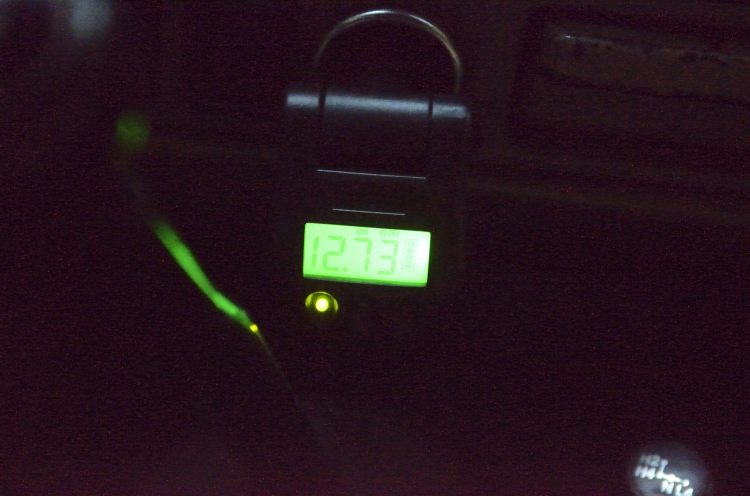
Result:
Holy moly! Since I first laid eyes on this truck the voltage has dropped from 12 down to 7 or 8 when the glow plugs are activated. Even when the engine is running the glow plugs would drop the voltage. Now I turn the key, voltage meter rises to 12. When I hit the glow plugs – The Voltage Doesn’t Move! Man that is some additional capacity. I’d no ideas those batteries were so dead.